Well, hello there!
Yes, I'm back. Maybe not with a vengeance, but I'm back just the same. I can't really explain why I took such a long break. A little blogger burnout, a little depression or just not able to find the right words to communicate my love of cooking and food. But, now that it is somewhat behind me, I feel like I have a little more enthusiasm.
During my absence, Tom and I took a vacation to visit our youngest son, Chris, and his family in Florida. Chris is an aspiring chef/restaurant owner and he cooks up a storm. So when we arrived in the late afternoon, Chris and his wife, Kelly, met us at the house we rented for the week. When I say "met us," I mean with some very tasty goodies. Our afternoon snack consisted of crab cake morsels with an amazing dipping sauce and Focaccia bread still warm from the oven ready for dipping in olive oil and 30-year old balsamic vinegar. Chris said he got the recipe for the bread from an acquaintance who just happens to be an Italian baker.
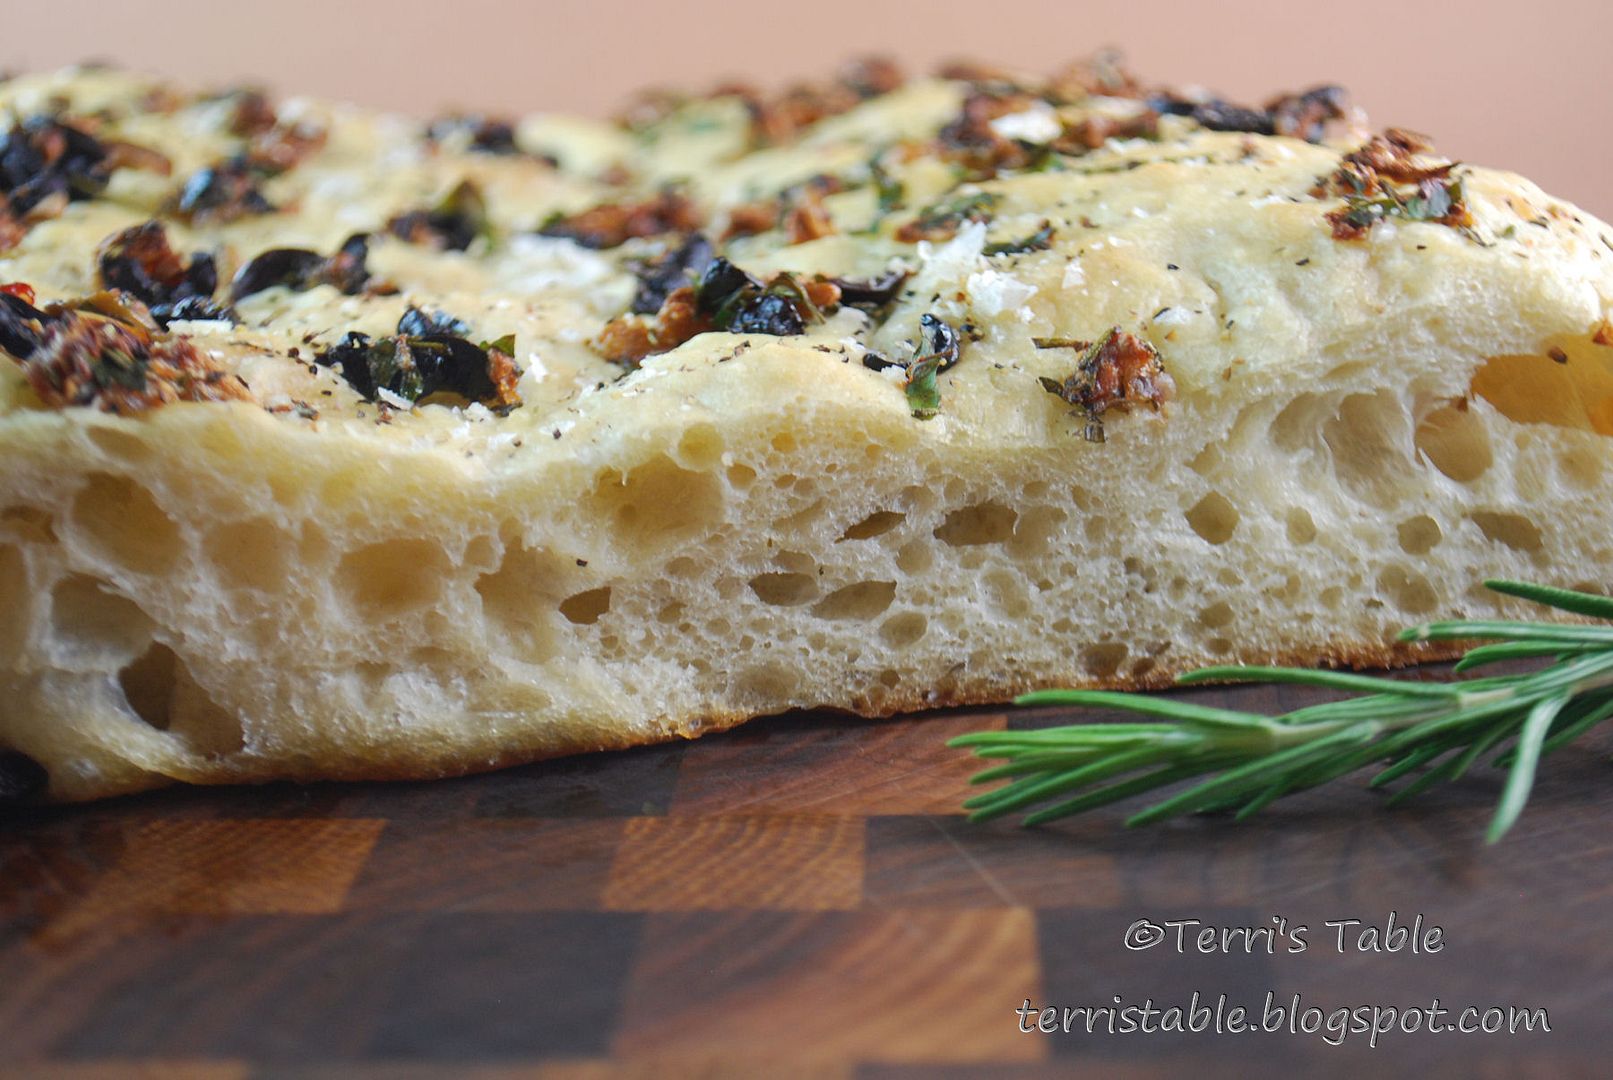
It was, by no stretch of the imagination, the best Focaccia I'd ever tasted. And the easiest bread I've ever made. Seriously.
Now this is not a loaf of bread that you just mix up and throw in the oven. It takes time. Four separate rises worth of time. But it's easy, perfect for a beginner because there's no kneading, just a few stretches and fold-overs. Most of the time is spent waiting the 45-minutes for it to rise each time. Plenty of time to do the laundry, vacuum the living room and tune-up the car.
The basic recipe is only 5 ingredients. Bread flour, yeast, salt, water and olive oil. That's it. Nothing fancy. But, you can jazz it up any way you want. These are some of the ways I flavored the bread:
- The first time I made it, I used roasted garlic mixed into the dough and sprinkled more chopped roasted garlic on top before baking.
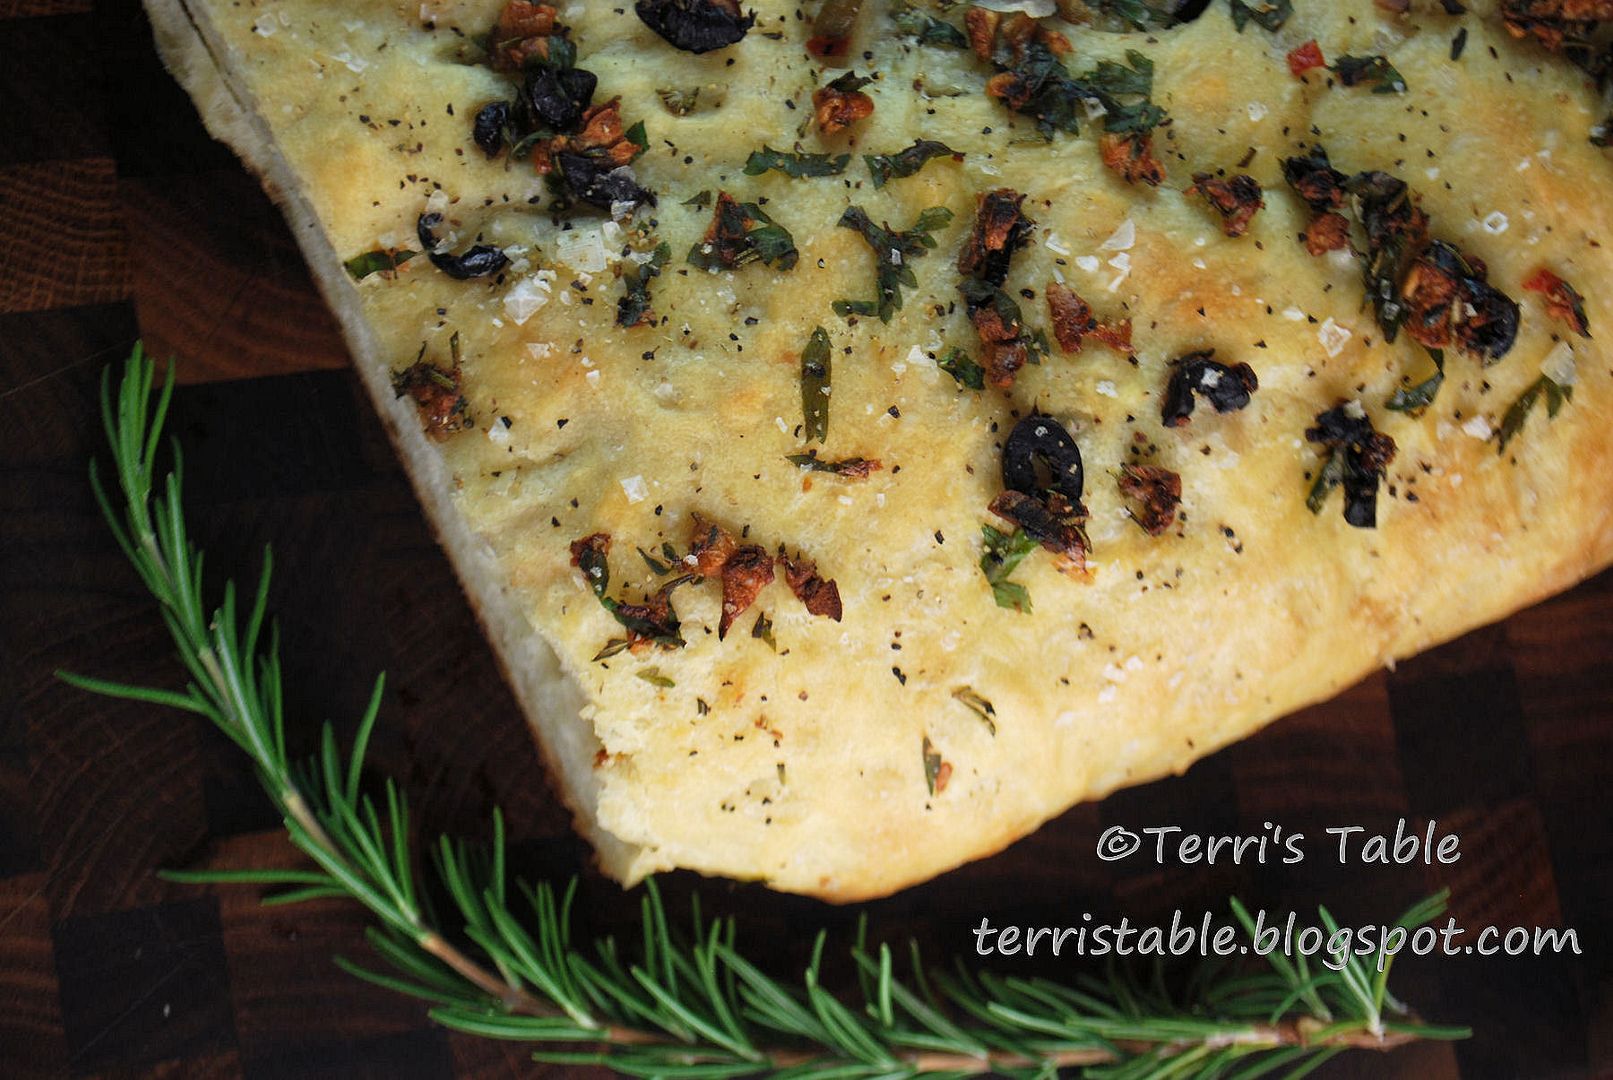
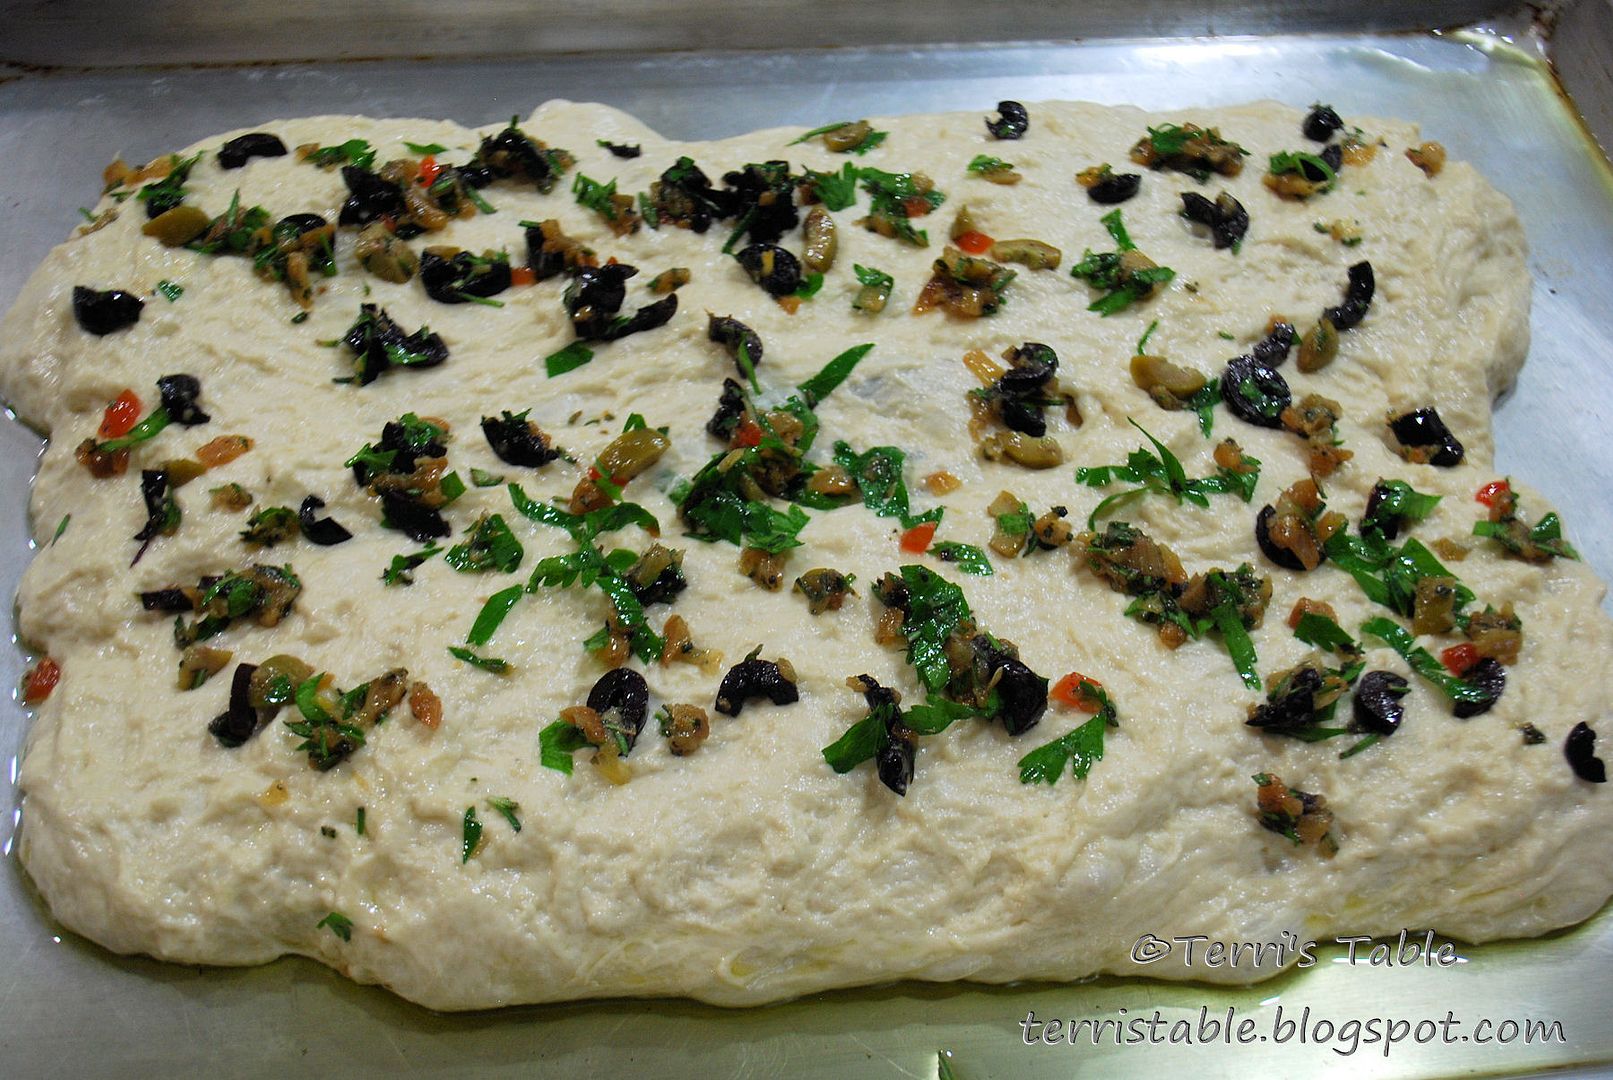
- Another time, I chopped up some olives (kalamata, green and black), some roasted garlic and some herbs (rosemary and Italian parsley) and mixed them altogether with a little olive oil (see the photo at the top) and sprinkled the mixture on top before baking.
- I also experimented with adding ground rosemary (1 teaspoon) and garlic powder (2 teaspoons) when I mixed in the flour.
- I added 2 teaspoons of course ground pepper ("restaurant style ground pepper") to the mixture just before mixing in the flour, then sprinkled the dough with rosemary salt just before baking.
It's tasty no matter what you use, so use your imagination.
My favorite so far is with the roasted garlic. I roast heads of garlic submerged in olive oil (how-to coming in a later post) and use the flavored olive oil along with the roasted garlic for extra flavor. It's exquisite.
This recipe does require one piece of special equipment: a stand mixer with a dough hook. If you don't have one, please invest in one. You will need it because you will make this bread often.
In the bowl of a stand mixer fitted with a dough hook, pour 2 cups of barely warm (not hot) water. Add 2 teaspoons of kosher salt and stir until the salt is dissolved. Sprinkle 1 package (2¼ teaspoons)of dry yeast over the salt water and let sit for 5 minutes.
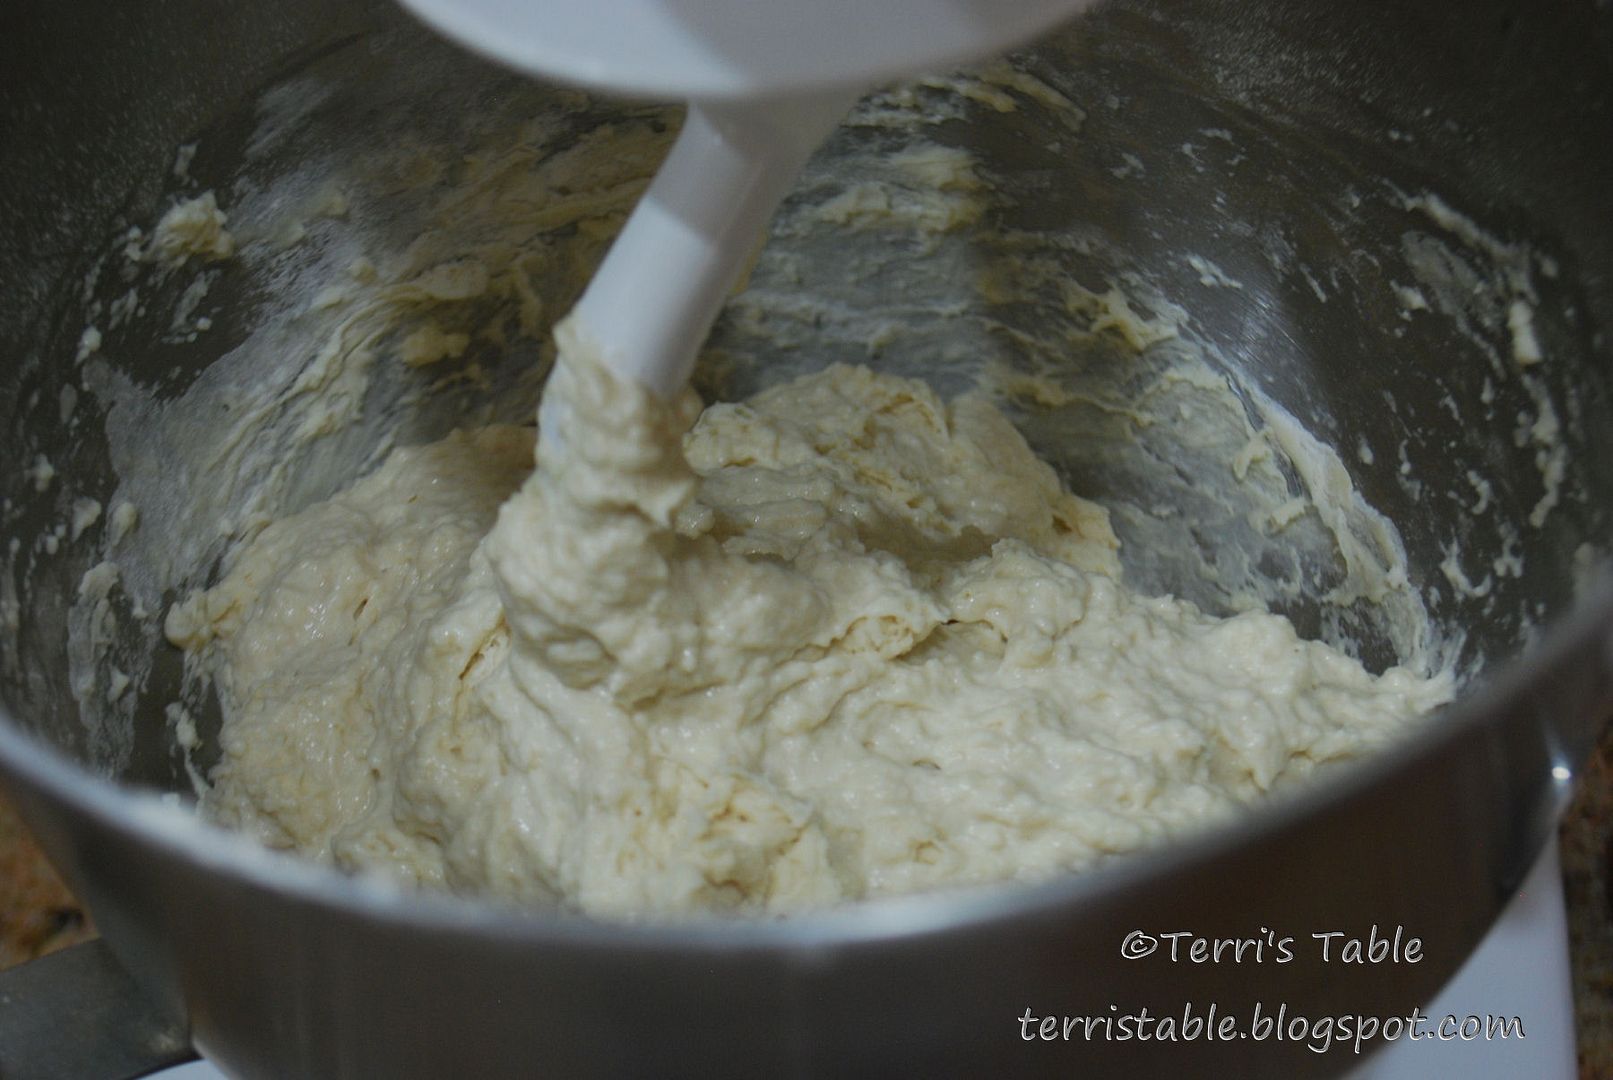
When the 5 minutes has passed, add 4 cups of bread flour
(if you are adding herbs or garlic, this is where you will incorporate them into the dough; or you can choose to just sprinkle them on top of the bread just before baking). Turn the mixer on low to start incorporating the flour into the liquid. Continue mixing on low for about a minute or so, then increase the speed up one notch for another minute. If you do it any faster, you'll have flour all over the place, so go easy. When most of the flour is incorporated, increase the speed again, but no higher than medium. When all of the dough pulls away from the sides of the bowl, you are ready for the next step.
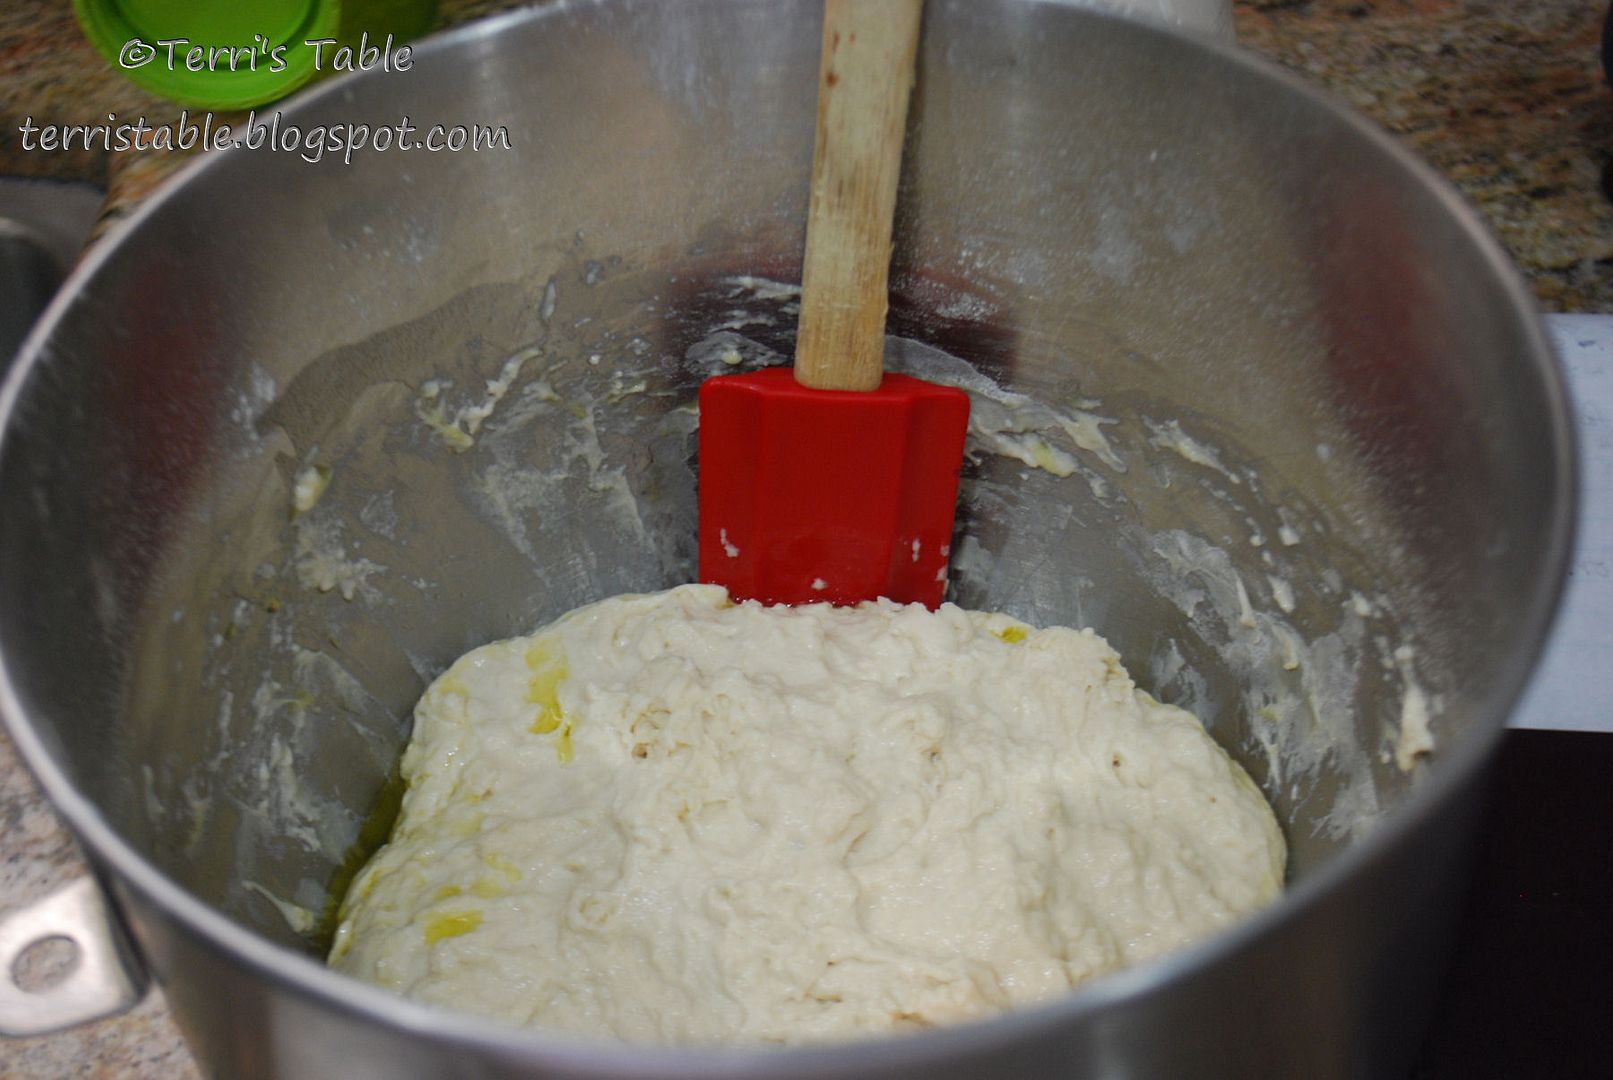
Remove the bowl from the stand with the dough hook still in the dough. The dough is really sticky so put a couple of drops of olive oil on your fingers and push the dough off of the dough hook. The olive oil will keep the dough from sticking to your fingers. Take 2 or 3 tablespoons of olive oil and drizzle it around the edges of the dough, like so....
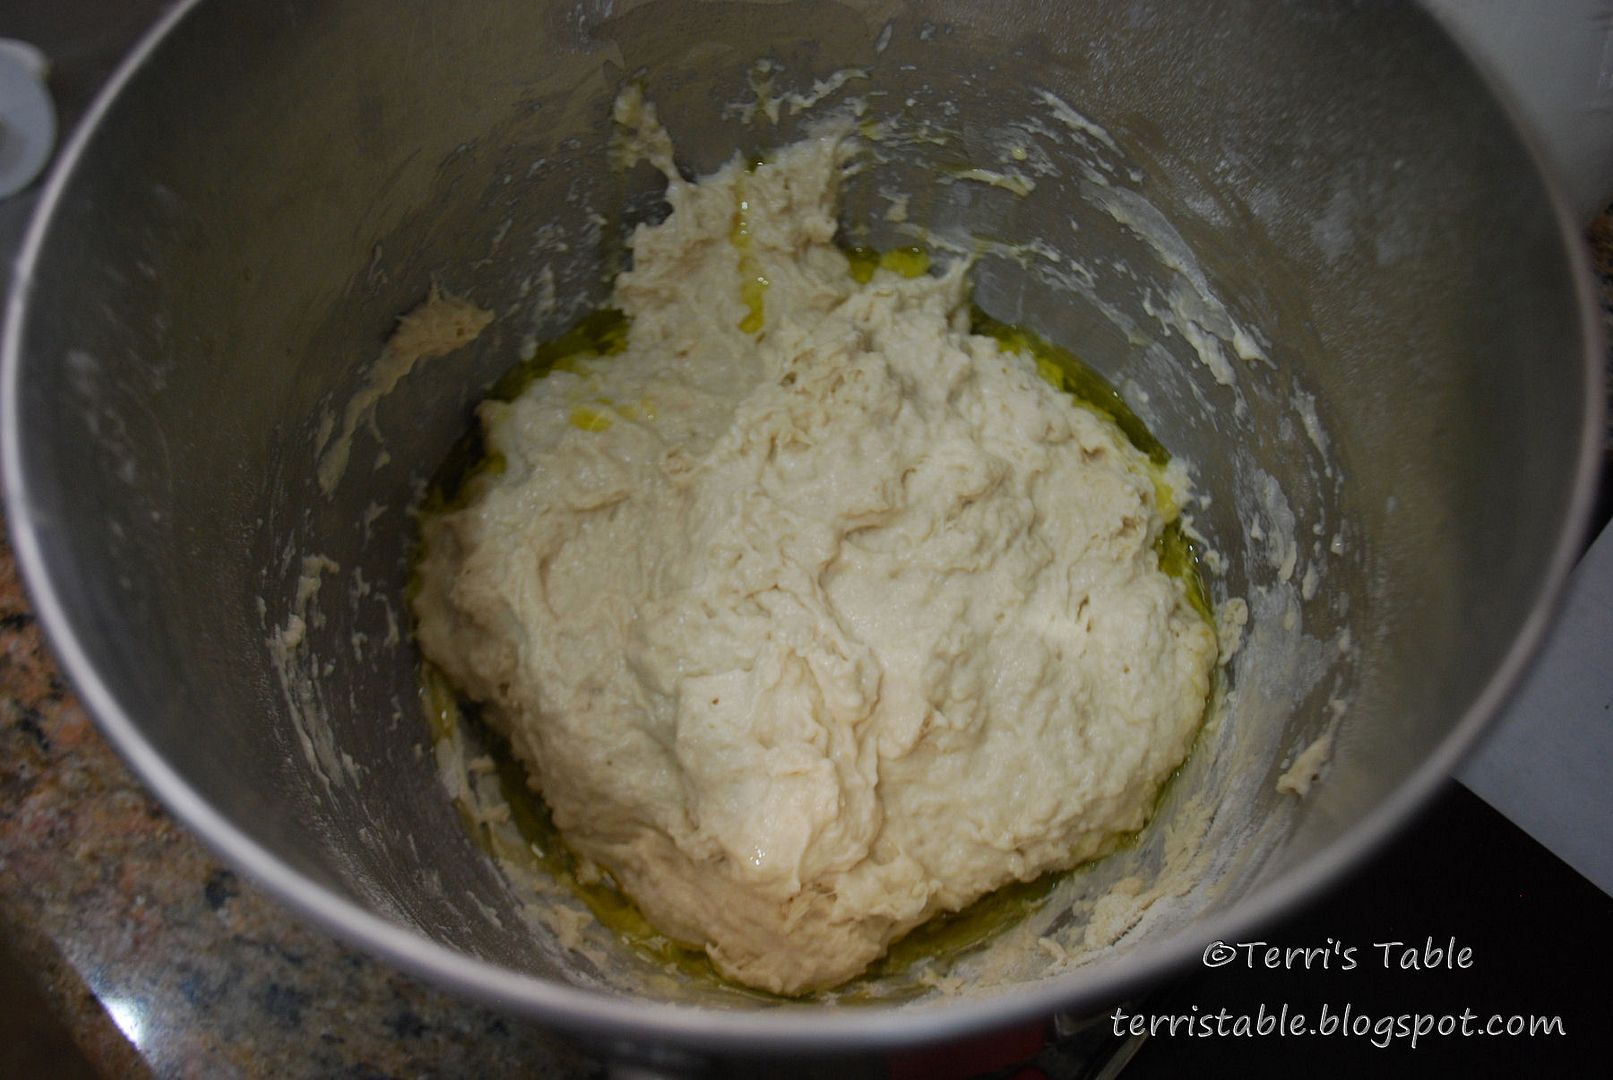
Now take a silicone spatula, rub it with a little olive oil, and run it around the edges of the dough so that olive oil can drip down the sides and underneath the dough, like this...
Remove the spatula, cover the bowl with a clean, damp kitchen towel, set your kitchen timer for 45 minutes for the first of four rises and go do something else. Really. That's it.
In the meantime, you might want to set up your work station. I have a very large
16-1/2- by 24-inch Silpat silicone mat that I use on my counter just for this purpose and to use when kneading all my other bread doughs. It's a bit pricey, but you don't need to be that extravagant. You can use a large piece of plastic wrap. Just wipe your counter with a damp cloth and lay the plastic wrap on top of the damp counter. The plastic wrap will stay in place and you can use it throughout the whole process. Easy peasy.
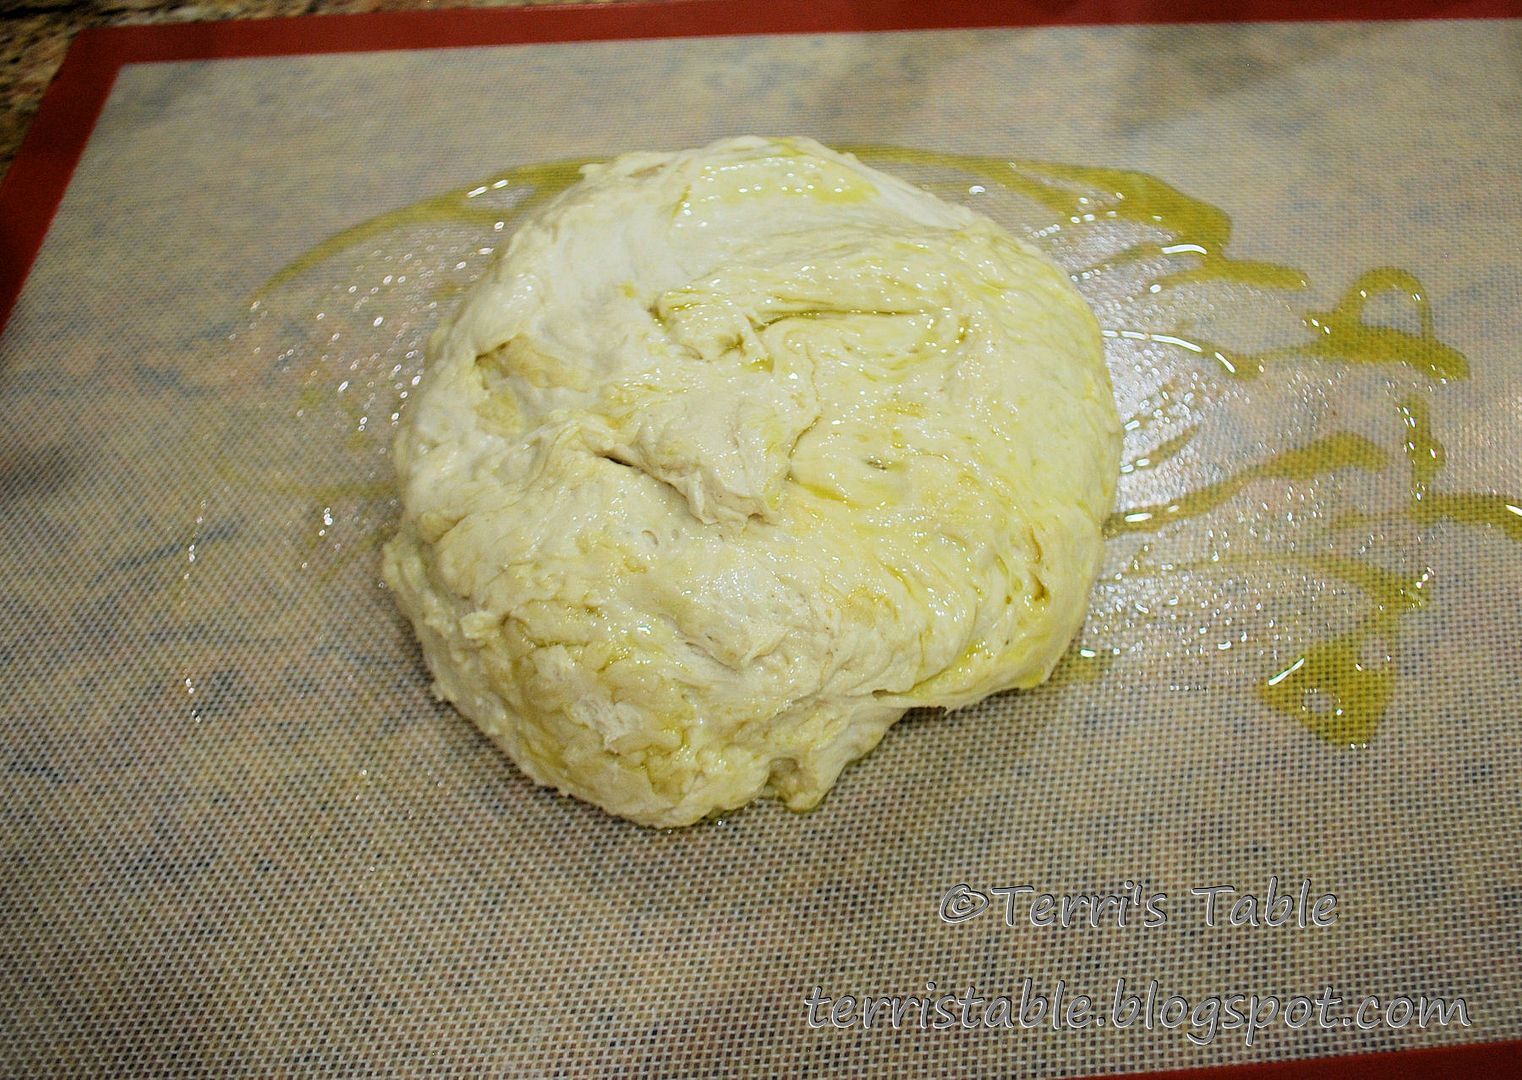
Okay. Next step. After 45 minutes, pour a couple of tablespoons of oil on your work surface (the silpat or plastic wrap or countertop, whichever you're using) and rub it around with your hands, then rub your hands together to coat them with oil as well. Dump the focaccia dough onto your work surface, using the silicone spatula to scrape out any dough sticking to the bowl.
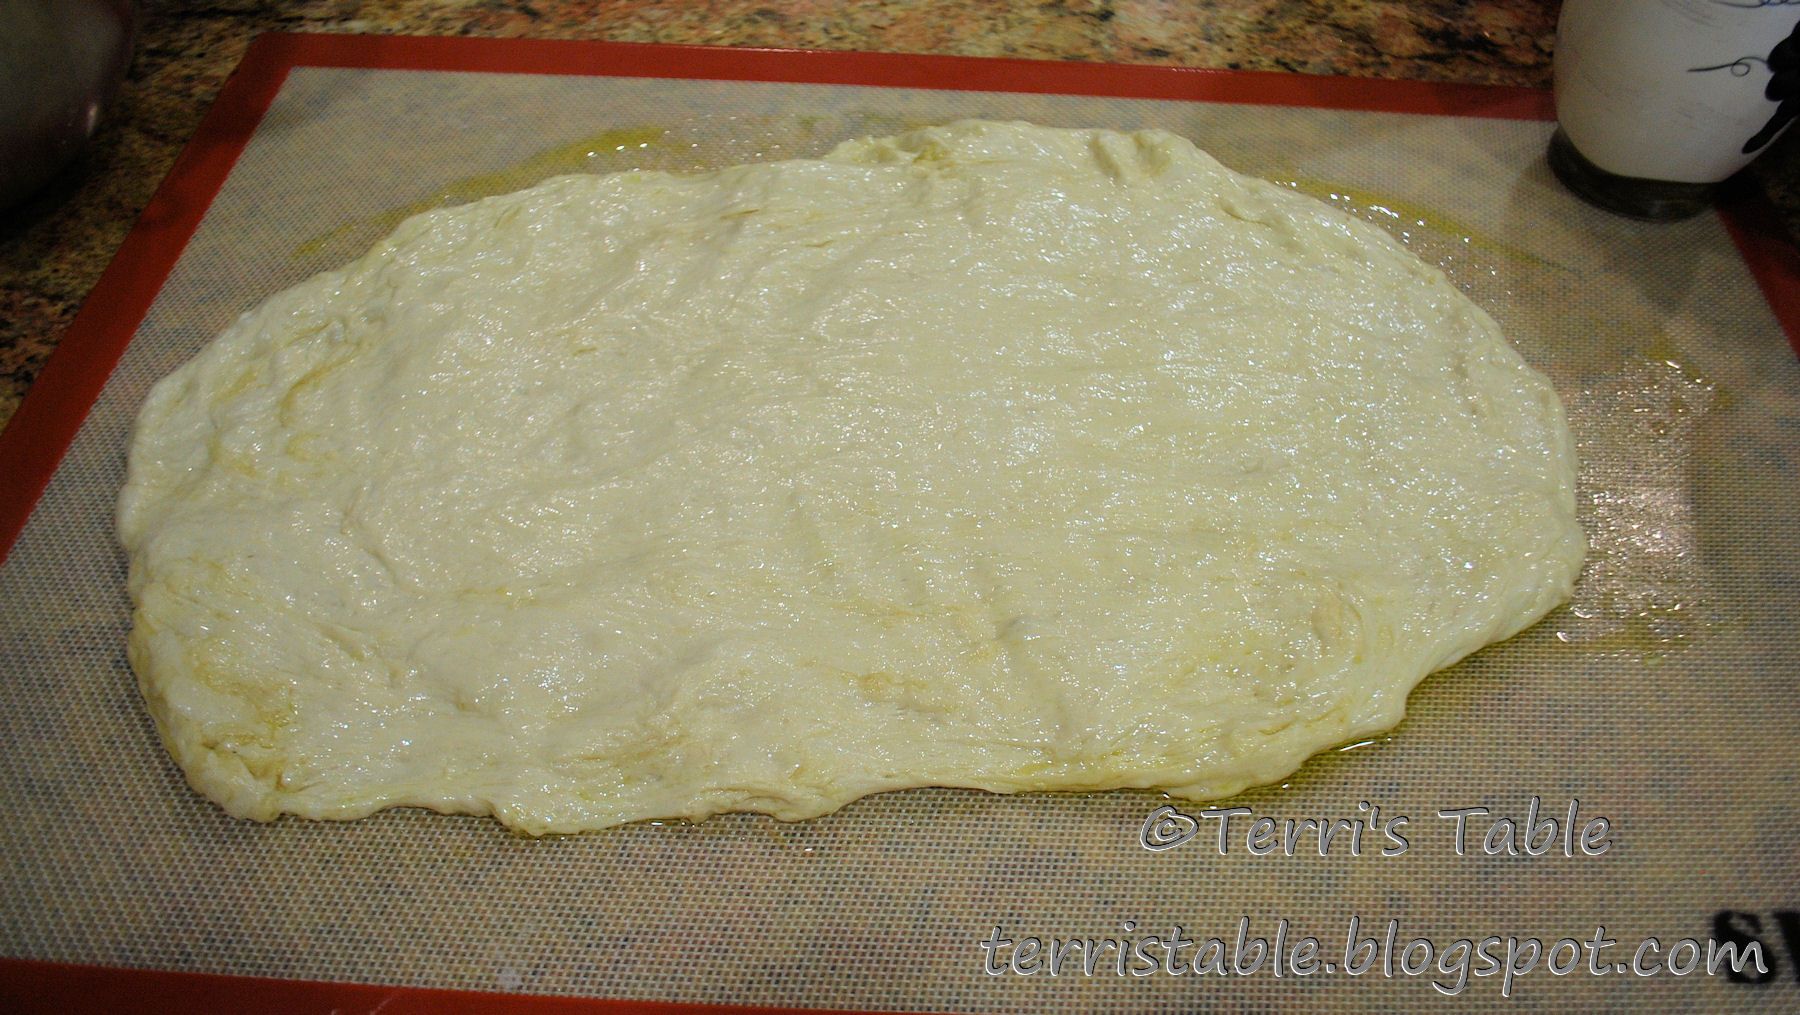
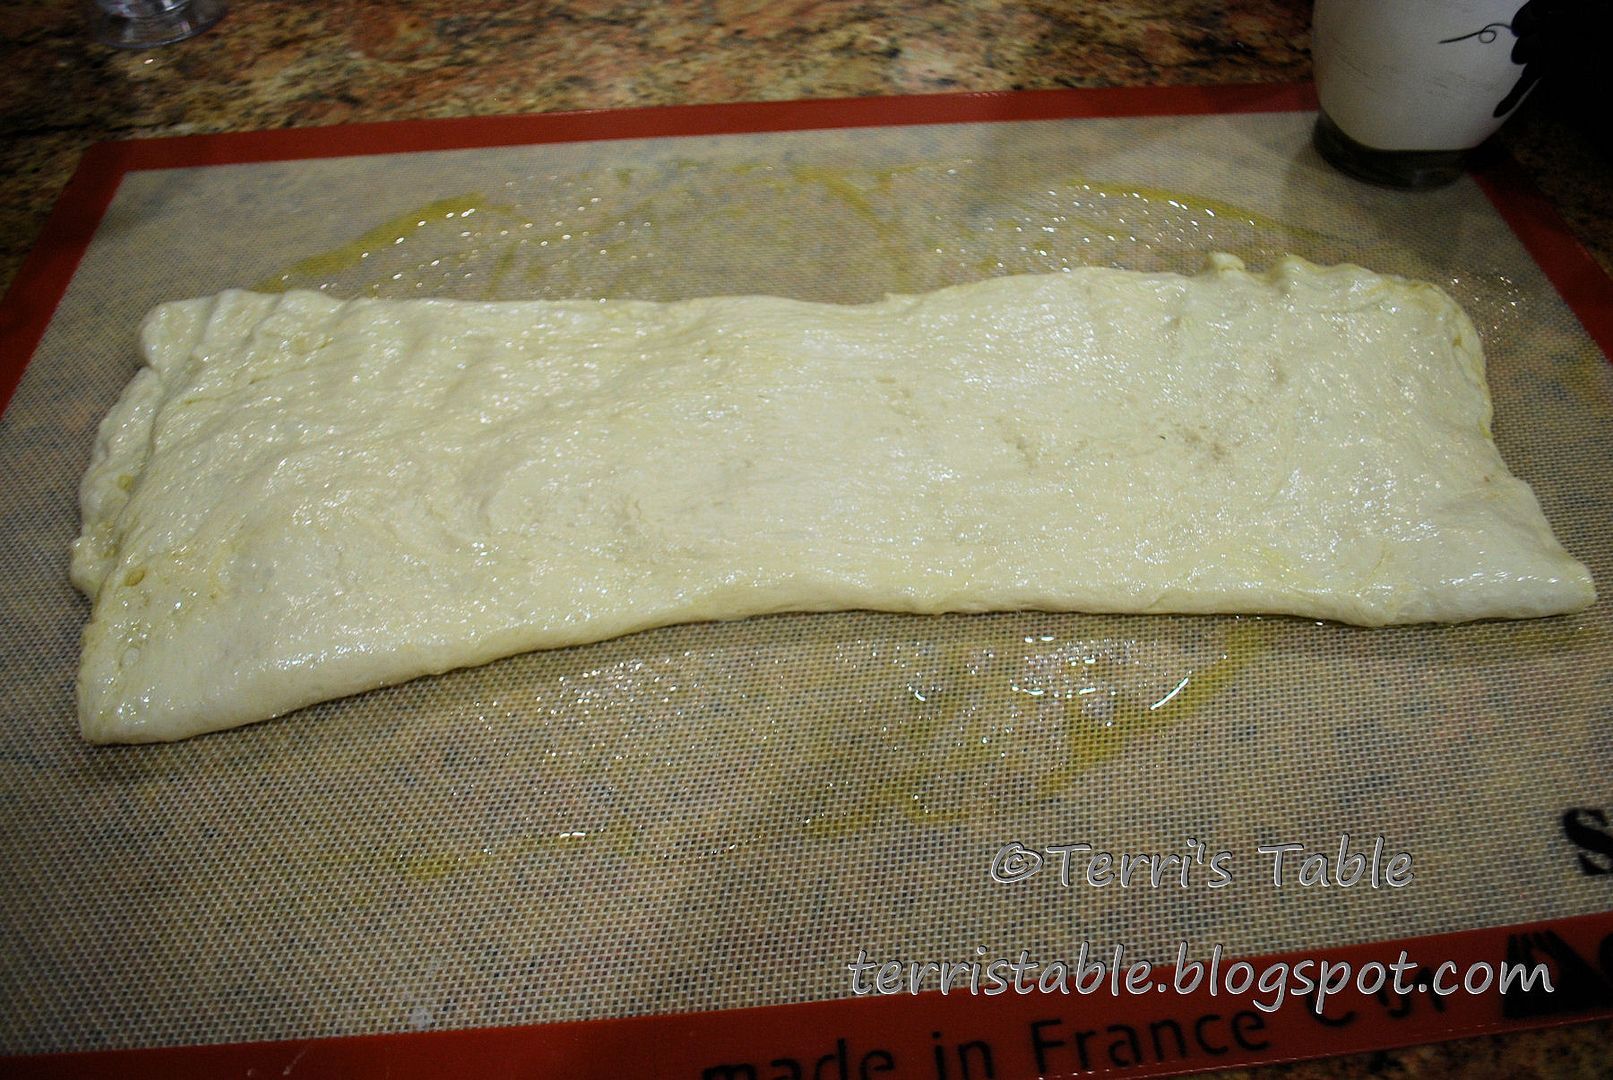
Now, stretch the dough out into a large rectangle. It doesn't have to be perfect. It just needs a good stretching.
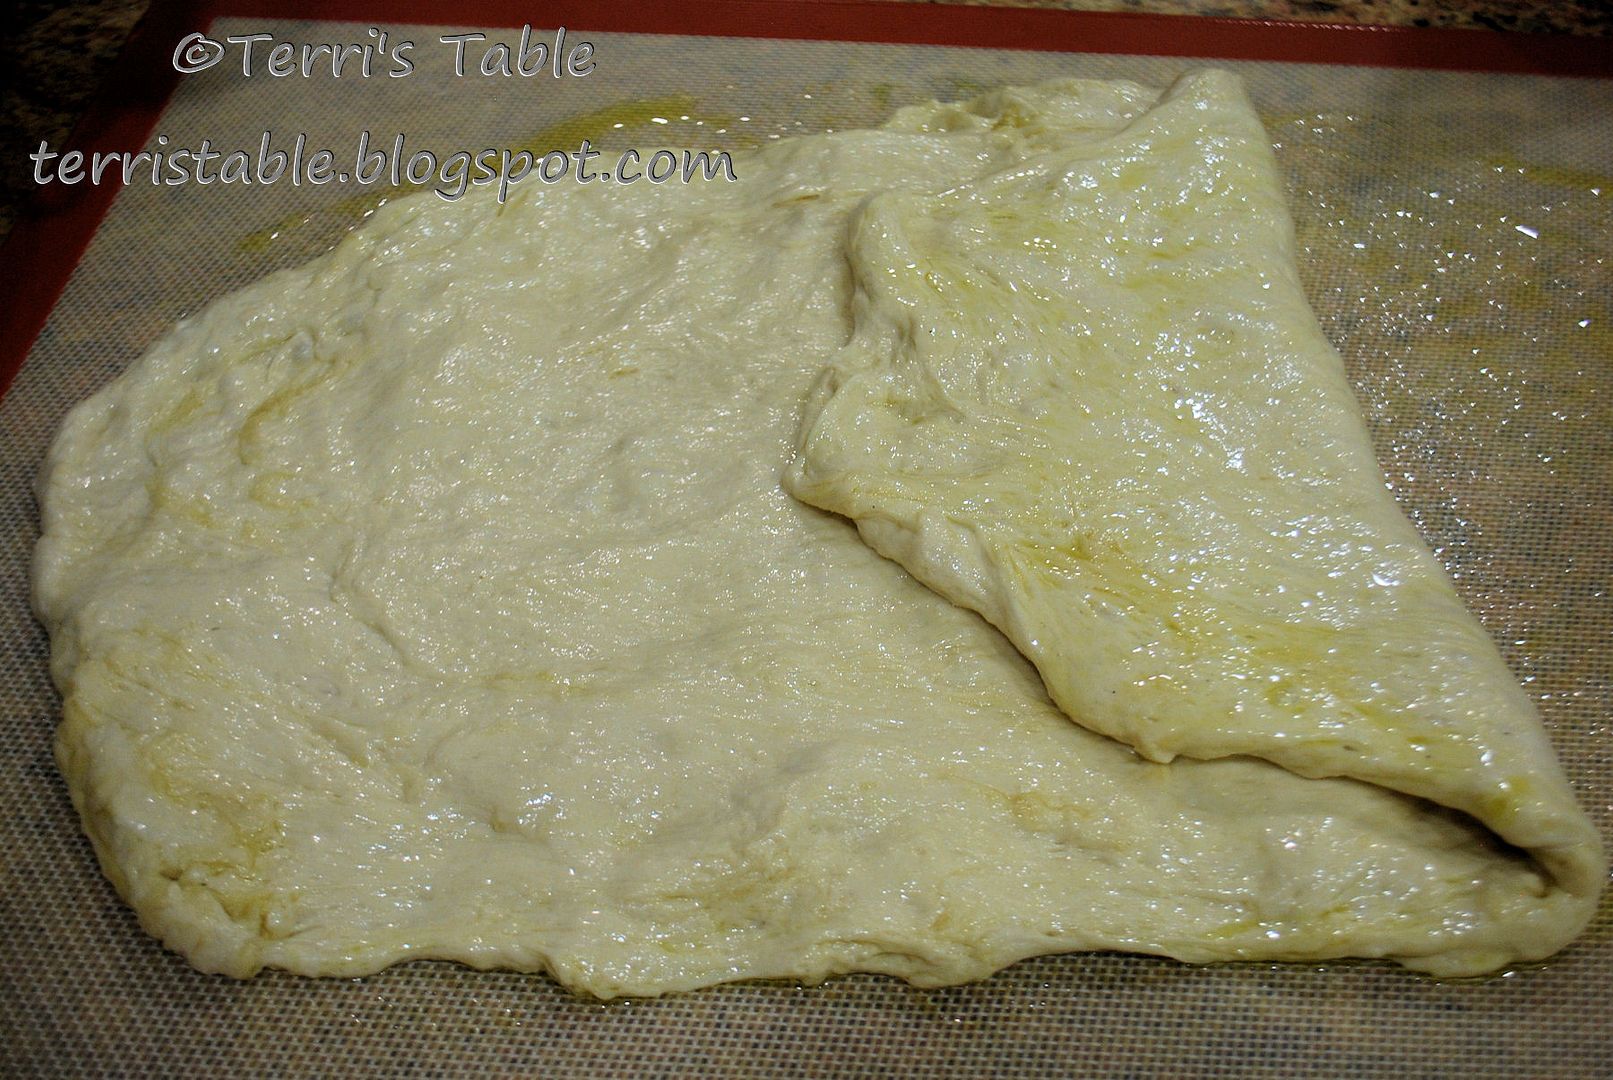
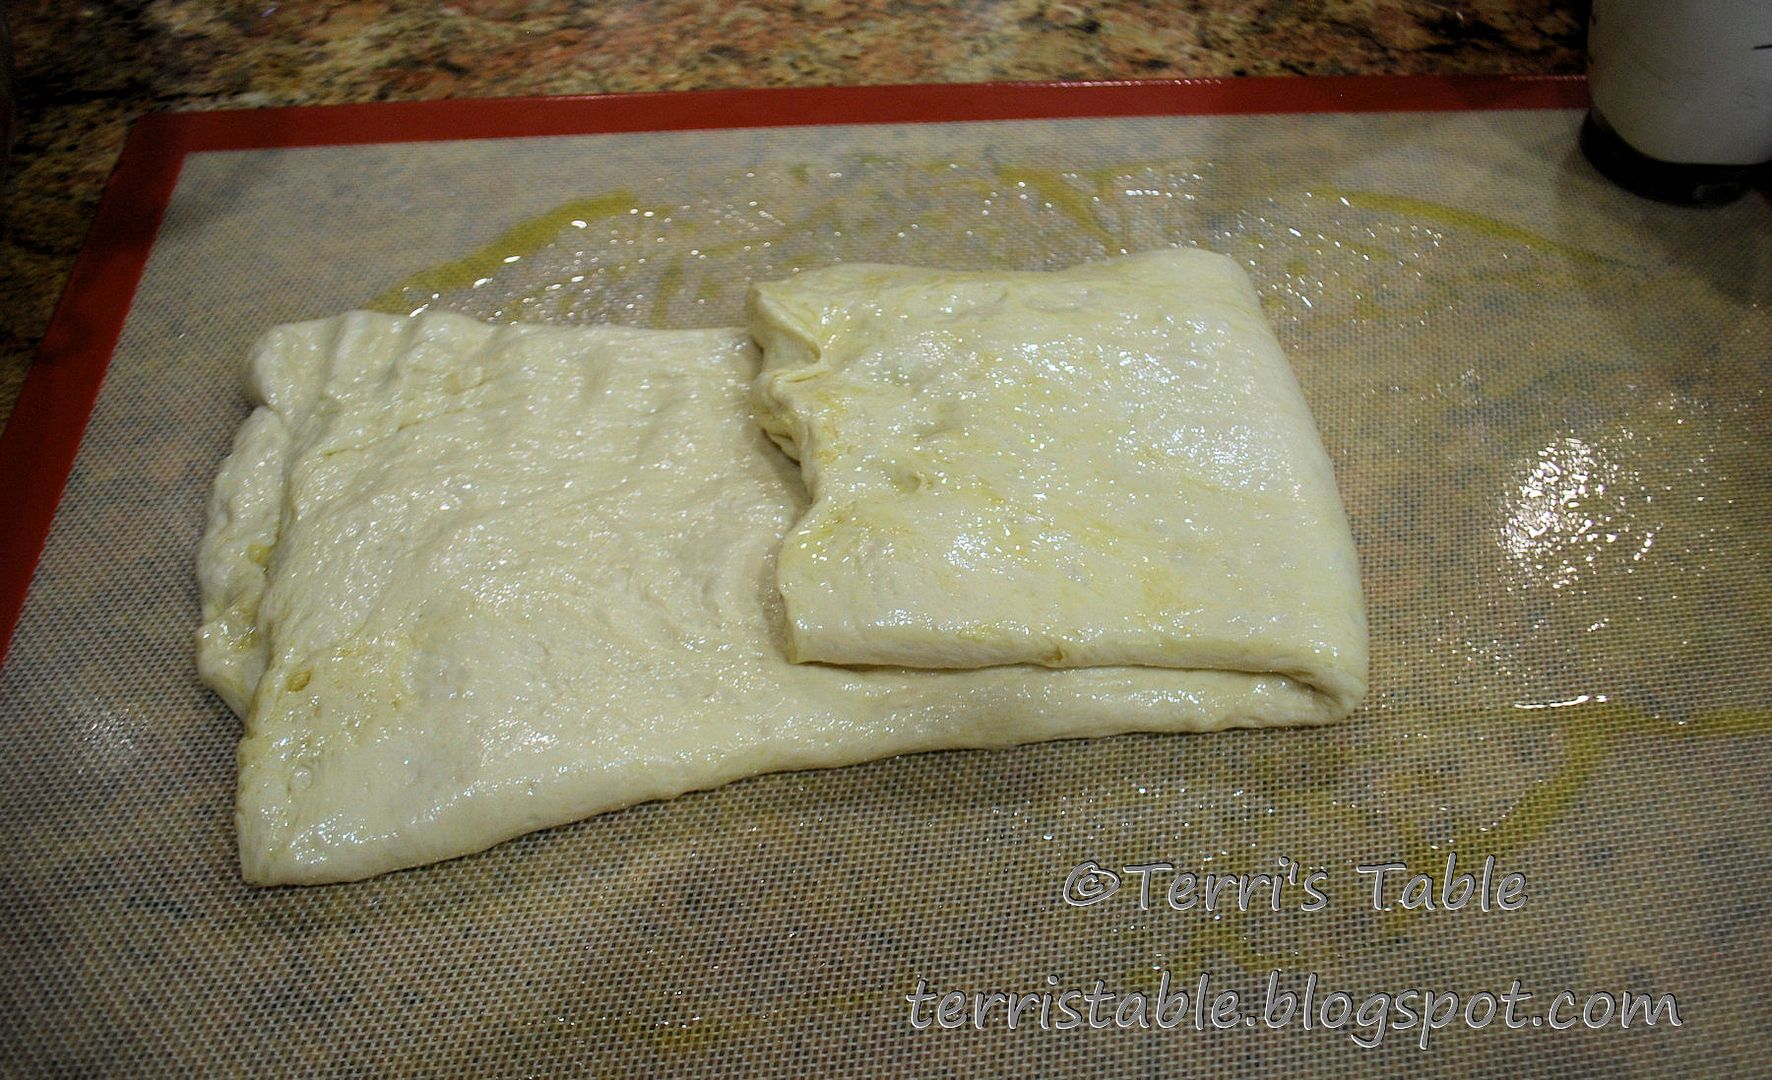
Next you need to take about a third of that rectangle and fold it over top of the dough, like so....
And then take the rest of the dough and fold it on top of the folded third, like this....
And now you have a smaller rectangle. Flip the rectangle of dough 180 degrees and give it a good stretch...
Then fold the dough by thirds like you did before...
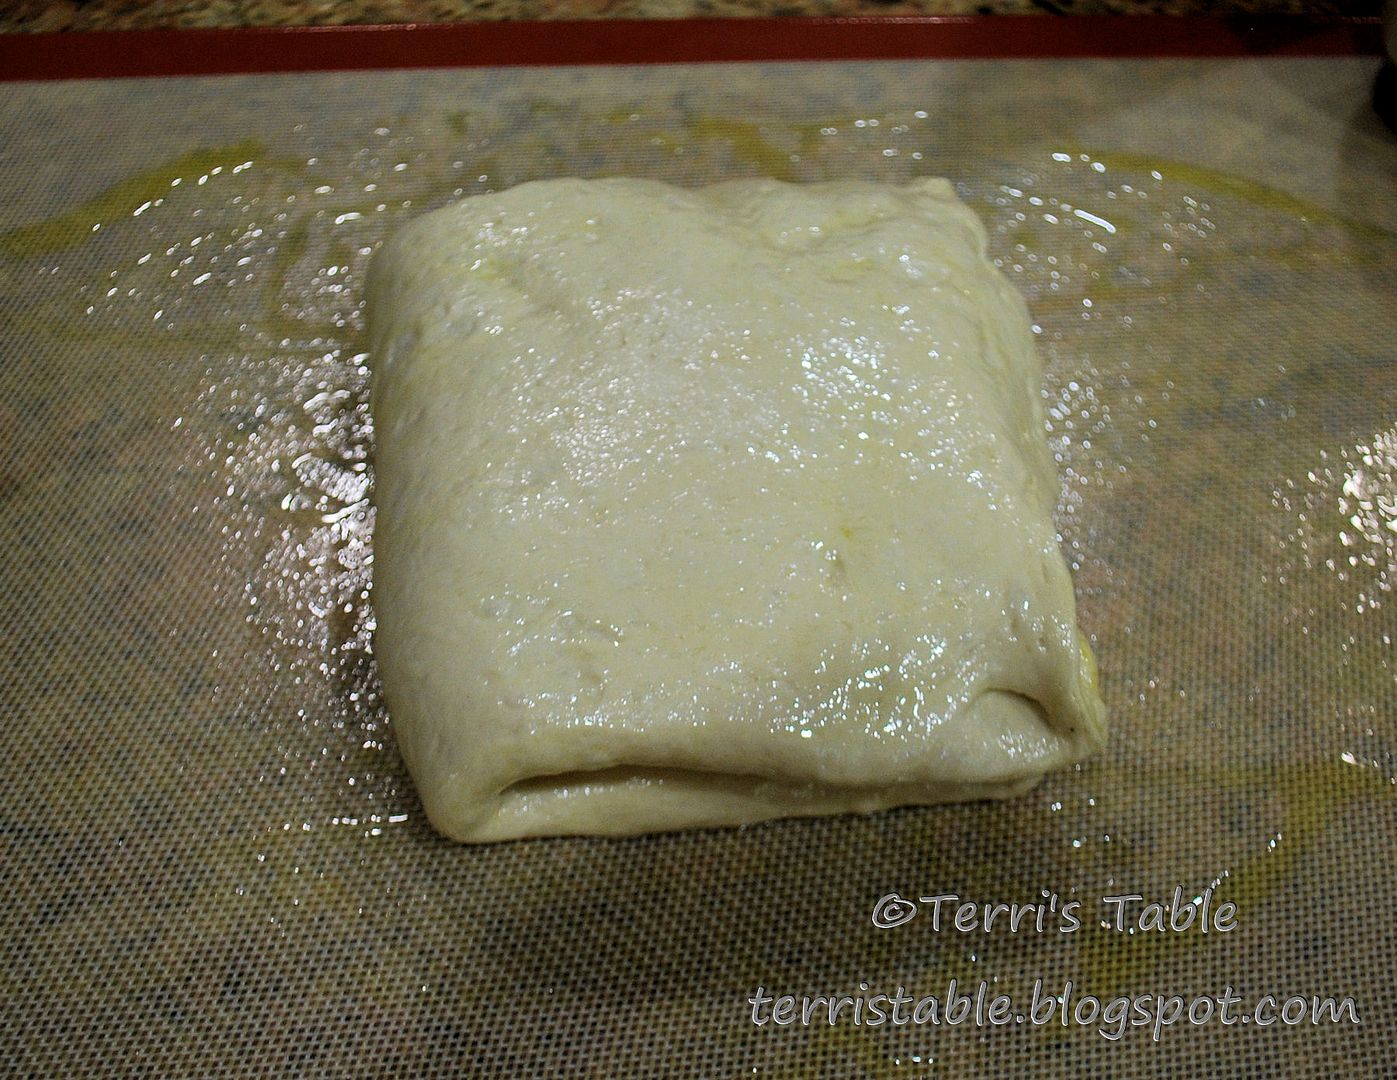
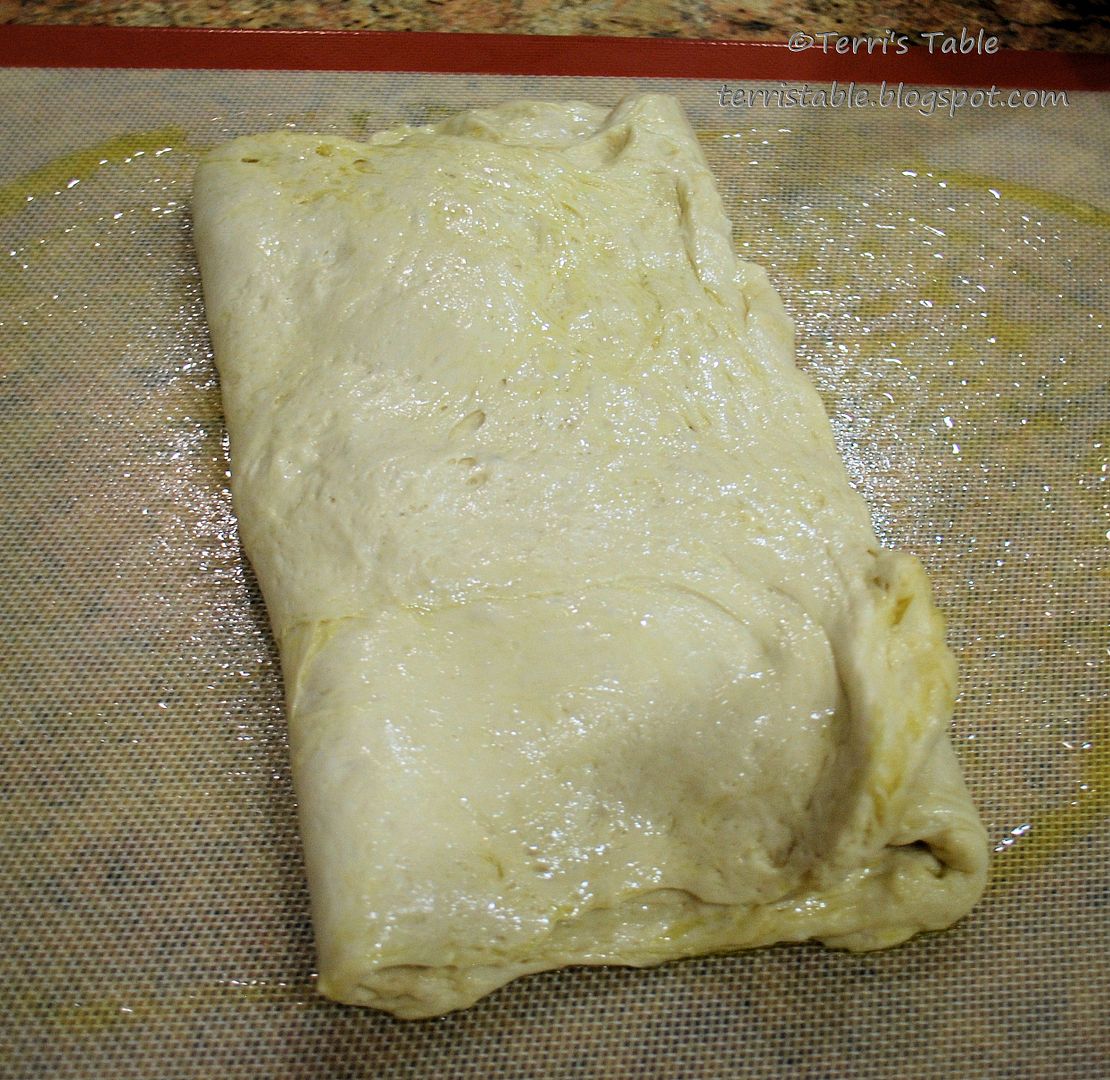
Take that nice little package of dough and tuck the sides underneath creating a ball of dough and put it back in the bowl, cover the bowl with the damp towel and set the timer for another 45 minutes, the second rise.
When 45 minutes has passed, you are going to repeat the stretching and folding process again, form the dough into a ball and allow it to rise again for another 45 minutes for your third rise. After the third rise, again repeat the stretching and folding process for the last time and put the dough back in the bowl for its final 45 minute rise.
While you're waiting for the last rise, preheat the oven to 425° and just before the timer goes off, prepare your baking pan. You'll need a large pan, 11½ X 17½. I bought mine at one of those big box stores (Price Club in California, which merged with Costco) but Sam's Club sells them, too.
So, to prepare your pan, I can only tell you what my son, Chris, told me: "Drizzle the pan with more olive oil than you think you will need," and this is how that looks...

When the final 45 minutes has elapsed, dump the dough out onto the oiled silpat (or plastic wrap or countertop) and stretch it into the best rectangle you can get, then pick it up and quickly drop it onto the prepared baking pan and stretch it some more.
If you are going to sprinkle the top with salt or herbs, now is the time. It should look like this...
Isn't it beautiful??
Bake it in your preheated oven for 20 to 25 minutes, until slightly golden brown.
While your bread is baking, get out your best olive oil and balsamic vinegar for dipping because you will not be able to wait to eat this bread. Enjoy!