Tuesday, June 30, 2009

The poets have been mysteriously silent on the subject of cheese. ~ G.K. Chesterton

Since we got back from Yellowstone, we've been cooking up a storm.

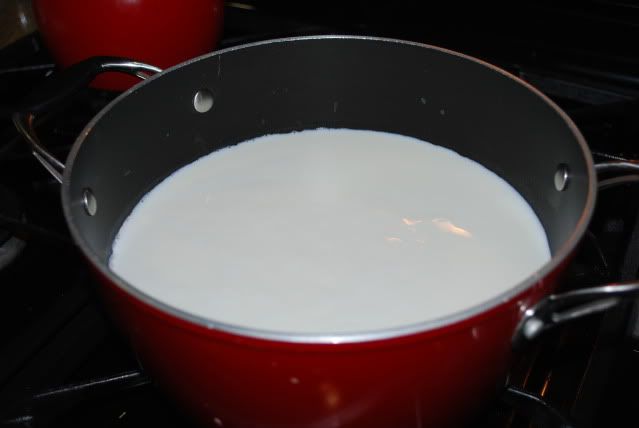
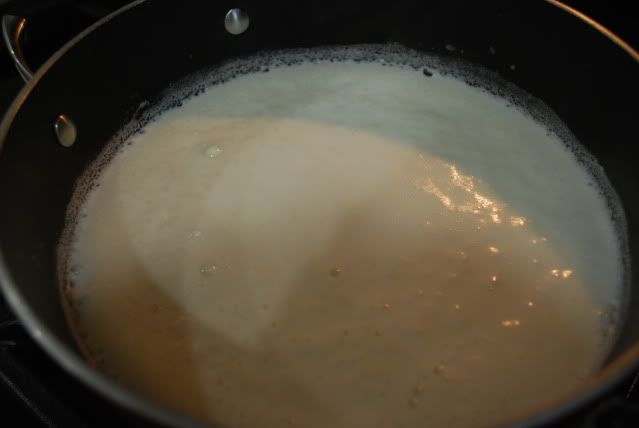
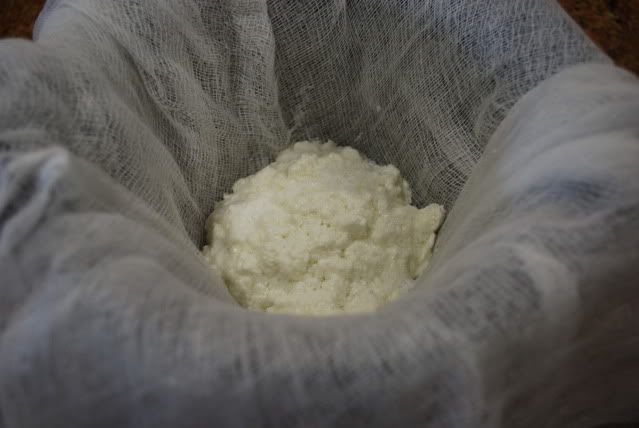
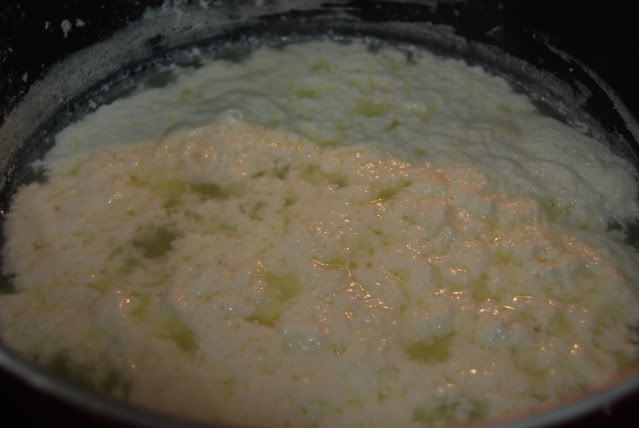
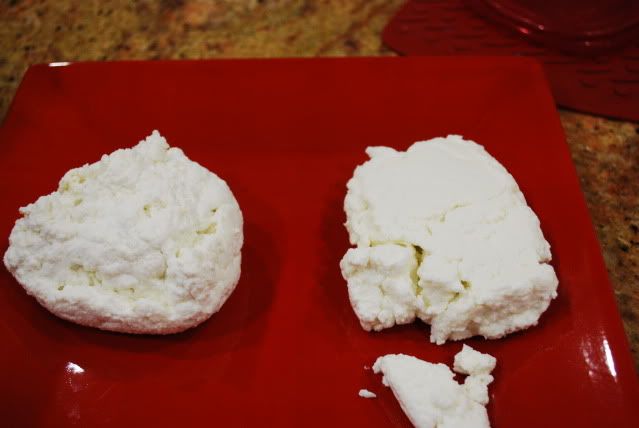
The ricotta cheese I made last week was delicious and I will make it again next week after we return from Memphis.

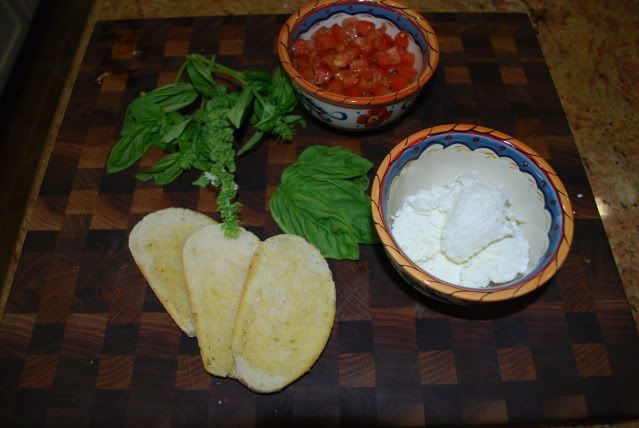
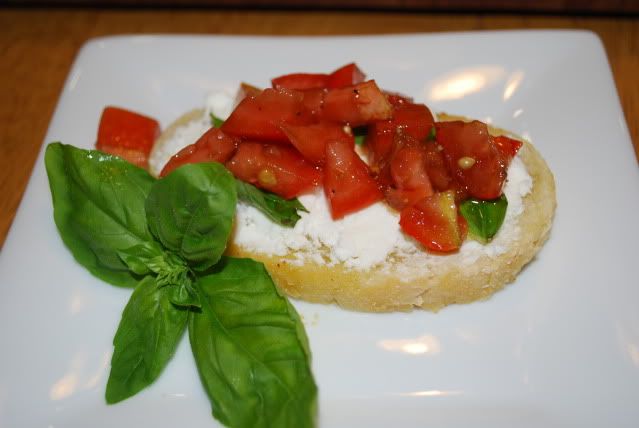
We used a little of my first batch for our little bruschetta appetizers, but we had about 1-1/2 to 2 cups left so Tom decided to stuff a chicken breast.

I've been buying boneless, skinless chicken breasts in bulk, vacuum sealing and freezing them. I used to buy large bags of pre-frozen breasts and break them down into serving size portions. The large bags contained 10 pounds of chicken breasts and you couldn't tell one from another. They were all just about the same size. Lately, though, I have been buying packages of fresh boneless, skinless chicken breasts in the "family packs" and it's turned out to be a much better deal for us. Some of the breasts in the packages are so big, we can use one to serve both of us, so I generally vacuum pack them one per package. One of those chicken breasts was all we needed for Tom to prepare the Ricotta & Basil Stuffed Chicken Breast.


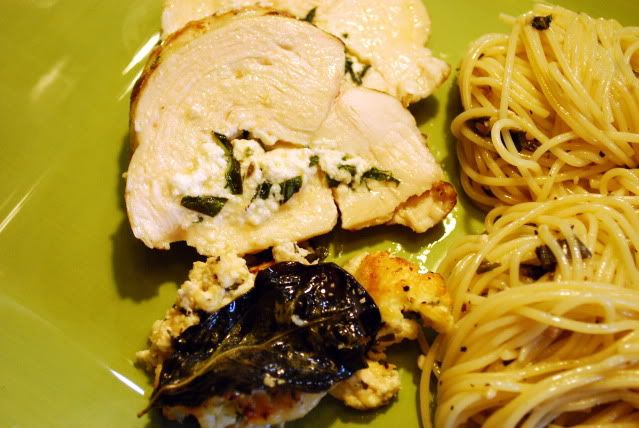
Tom really doesn't use a recipe for this dish. He just adds what he likes. Sometimes he uses basil, particularly when it's fresh from our garden, and sometimes he uses sage. Both are delicious.

Here's what he did:

  • He first preheated the oven to 350 degrees.

  • He sprayed a shallow baking dish with cooking spray, then poured about 3/4 cup of white wine in the bottom and added about 2 Tablespoons butter, then set it aside.

  • In a small bowl he mixed the remaining 1-1/2 to 2 cups of ricotta cheese with a handful of chopped basil, some minced garlic, salt, pepper, about a 1/4 cup of parmesan cheese.

  • He used a knife to cut a large pocket in the chicken breast, making sure not to cut through to the outside.

  • He then stuffed the pocket with the ricotta mixture until the pocket was almost overflowing (some stuffing will be leftover). When he finished, he tied the breast with string to keep it closed and to achieve a uniform size for even cooking. (NOTE: Tom said next time he will butterfly the breast, spread the mixture across the meat, then roll it and secure with string).

  • Tom heated a couple of tablespoons of oil in a frying pan and quickly seared the chicken on all sides; then he placed the chicken breast in the baking dish.

  • He laid whole basil leaves over the top of the chicken breast; then pressed the rest of the ricotta filling on top of the basil leaves; then sprinkled with a little more parmesan cheese.

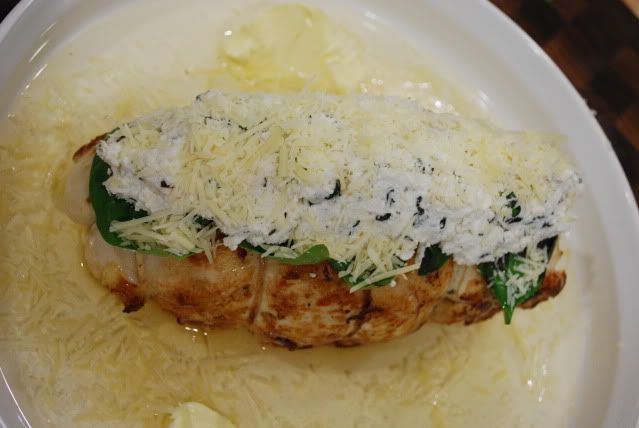
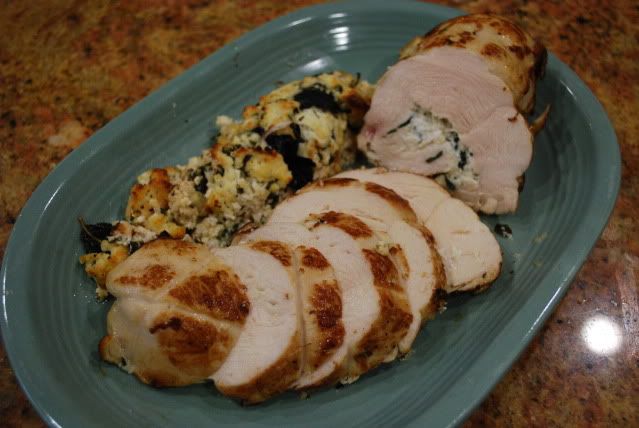
  • The chicken goes into the oven for about 30 minutes, longer if the breast are large (to an internal temperature of 165 degrees). Serve the pan juices as a sauce on the side.


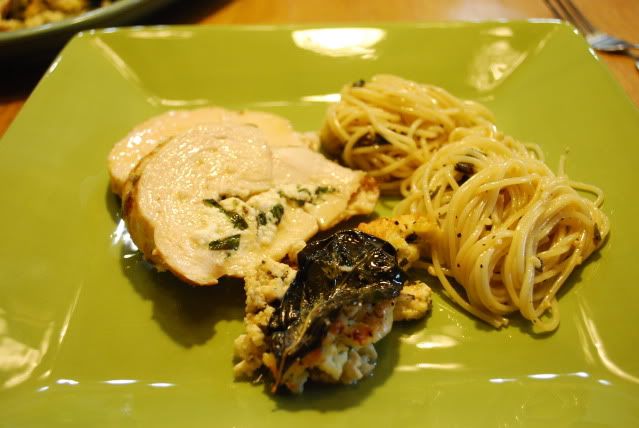
The basil and ricotta mixture fell off the chicken while baking, so Tom just served it on the side. It was mighty tasty anyway.


The pasta I served with the chicken couldn't be more simple or delicious. I just put a couple of tablespoons of olive oil and a couple of tablespoons of butter in a frying pan; add about a tablespoon of garlic and cook it on medium until it is translucent. Then I add a lot of chopped fresh basil, maybe two good handfuls, and a cup of white wine and reduce to about half, then add salt and pepper to taste and a nice pinch of crushed red pepper for a little heat. Add about a half a pound of cooked angel hair pasta, mix well and serve.


Fresh ricotta, fresh basil, juicy chicken, a little wine...what could be better?

Wednesday, June 24, 2009

Back Early from Vacation, Catching Up & Ricotta Cheese

Okay, this is the third time I've started this post. I guess I am a little disoriented because I keep hitting the wrong keys. I have mistakenly closed this post twice and closed my browser altogether once.

So, yes, we are back early. I will not belabor our reasons for returning, other than to say, Tent + Cold + Rain + Illness + Endless Driving = Miserable. The next time I visit, I will not camp. I will rent a travel trailer or stay at one of the resorts in Yellowstone. I will visit again. The Rockies are simply breathtaking. This is just a sample of the beauty that surrounded us, taken last Thursday at dusk from the shore of Jackson Lake a few steps from our camp site...


You will notice the clouds. It rained that night. Luckily it wasn't a torrential rain. Thunderstorms and heavy rains were expected Saturday and Sunday. We left Saturday morning as the clouds began to form and we pulled into our driveway on Sunday night about 9:00pm, a 24-hour drive over two days. Whew!

On Monday afternoon, I sat down to the computer and checked my Google reader. Aw, shucks, ONLY 410 entries! But one post stood out. A simple recipe posted by Karen @ Karen Cooks for homemade ricotta cheese. It only required 3 ingredients and it looked so darn simple, I had to try it.

I put 8 cups of whole milk (1/2 gallon) and 1 teaspoon of kosher salt in large pot and brought it to a simmer over medium high heat.


When the milk started to simmer, I stirred in 3 Tablespoons of fresh squeezed lemon juice and turned off the heat. You can just barely see the curds beginning to form.


I had lined a colander with four layers of cheesecloth and after about 5 minutes, I started scooping the curds out with a slotted spoon (with small holes) into the lined colander over a large bowl and allowed the curds to drain for about 10 minutes.


The recipe yielded about 1-1/2 cups of fresh ricotta cheese, but I had a pot full of whey and I just couldn't throw it away! So I ran to the computer to get some ideas on how to use this stuff.

Now let me say here that I think I did something wrong with the first batch I made because the whey was not clear. It looked almost like regular milk. I don't think I let the milk get hot enough.

Anyway, I found this article about making Ricotta Cheese from the whey of other cheeses. I have to admit that I only skimmed the article before I decided to make more Ricotta from the Ricotta whey. Had I read the article completely, I would have seen the part that said, "PLEASE NOTE that you cannot make Ricotta from the whey left over from making an acid precipitated cheese such as Panir/Queso Blanco or whole milk Ricotta. That is because you've already precipitated out all the albumin protein the milk has to give using acid and heat and there is nothing left over in the remaining whey to make whey Ricotta. Since the Ricotta I made is "whole milk Ricotta," I should not have been able to make more Ricotta from the whey. That's why I think I did not make it properly the first time.

So here's what I did. I lined the colander with fresh cheesecloth and placed it over a large bowl. I put the whey on the stove and brought it to 200° (I just used a digital thermometer). When it reached 200°, I stirred in 1 Tablespoon of distilled white vinegar. It immediately formed curds...


I poured the curds and whey into the colander and lifted the colander out of the bowl over another large bowl to allow the cheese to drain. It was just like the first batch. Rich, creamy and very tasty. You can't tell them apart.


I was fearful that the vinegar would give the cheese a different flavor. It didn't. They both taste the same.

I wasn't planning anything specific to prepare with my fresh Ricotta, so today for lunch we had sliced french bread (drizzled with olive oil and baked in the oven for about 10 minutes) slathered with fresh Ricotta and topped with fresh basil and chopped tomatoes (drizzled with a little olive oil and balsamic vinegar, and sprinkled with salt and pepper). Heaven.


Tomorrow night's dinner will be Chicken Breasts Stuffed with Ricotta and Basil.

Sunday, June 14, 2009

An Inpromptu Vacation....Finally!! Oh, Yeah, and Today is also my Birthday...

If you have been reading my other blog, you know that I haven't been posting because I've been too busy to do anything but throw tantrums. To soothe the savage beast within, I am taking a vacation to Yellowstone National Park. I will be gone at least two weeks and when we get back, we turn right around and are again off to Memphis for our season's last performance, Wicked. So this will be my last post until after the 4th of July holiday weekend.

I apologize for the lack of posts lately, especially photos outside my kitchen window, but I have been completely uninspired and grumpy. It has been hot, extremely humid and raining intermittently for almost two weeks. The only descriptive word that comes to mind is YUK!! Tom has crawled into a cocoon and, consequently, cannot seem to communicate. And, consequently, I am feeling lonely and ignored. We have pretty much resolved the latter, but there is little I can do about the weather except to escape. Hence, vacation...Yellowstone...where is it cool, mostly dry and, hopefully, awe inspiring!

However, we have been cooking some. Tom made the Burp! Barbecued Shrimp @ Burp! Where Food Happens. The only thing he changed in this recipe is substituting the cayenne pepper with crushed red pepper. I have to admit, we liked it better than Tom's recipe!


Tom also made an awesome Asparagus, Goat Cheese and Potato pizza! I think he got the recipe from Bon Appetit magazine.


And, for the last two nights, we've had Carol's Southwestern Chicken and Rice Casserole @ Bunny's Warm Oven. We've had it two nights in a row because...(a) it was delicious, (b) it made enough for two nights and then some and (c) I've been too busy packing to cook.

The only thing I did different from Carol's recipe is I seasoned my chicken breasts with a fajita seasoning that I put together (2 Tbsp onion powder, 1 Tbsp garlic powder, 1 Tbsp dried oregano, 1 Tbsp white pepper, 1 Tbsp cumin, 1 Tbsp Tone's Southwest Chipotle seasoning and 1 tsp salt - mix together and store in a jar). This is a really good casserole. We served it with some sliced avocado and a little sour cream. Even after the chicken was gone, we still had rice, beans and corn on the bottom of the casserole dish. At another time, I would have saved it for breakfast burritos (scrambled eggs, cooked Mexican chorizo, the rice-beans-corn mixture and some cheese rolled up in a big flour tortilla - Yum!), but since we are discarding everything perishable, it went in the trash. :(


And after I saw Bunny's guest post for Retro Banana Cream Pie @ Megan's Munchies, I knew I had to try it. Since moving to the south, I have seen tons of recipes for Banana Cream Pie, but I couldn't bring myself to make any of them since they all call for adding vanilla wafers to the pudding. The thought of biting into a soggy vanilla wafer covered with a packaged pudding mix makes me gag. But, this recipe is different. I didn't have enough whipping cream for the topping (I made this on the spur of the moment and didn't feel like going to the store for more whipping cream), so I just made do with the little I had. The pie did not last long.


And, last but not least, I have taken a couple of photos of my backyard. This is our newest resident. Tom has a thing about frogs and toads, so we have them everywhere. At least their not gnomes or concrete burros....


We've had squash from the garden (with the Southwest Chicken and Rice Casserole) and the flowers are doing well. But you can tell it's been raining because they all have lovely raindrops on them.


Tom picked our first ripe blackberries already...


so when we get back, if the birds, rabbits and squirrels have left any for us, a blackberry cobbler is in order.

And, yes, today is my birthday. Happy Birthday To Me!!

Tuesday, June 2, 2009

Greek Orzo Salad with Shrimp


Can you hear me smacking my lips? Can you see me drooling? This salad was fantastic! What made it so different from any other summer salad? The vinaigrette - simple and fresh tasting.

We were taking a trip to the lake this past weekend to spend some time on the boat and, of course, I was thinking about what to pack in the cooler for our lunch. As I sat making a list for my trip to the grocery store, I was also wading through the posts in my Google reader when I came across a post for this salad on Stacey Snacks. I don't know what prompted me to use the link to her original post, but I did. When I scrolled down the page, I saw that Marie @ Proud Italian Cook (one of my absolute favorite food bloggers) was the first person to leave a comment on Stacey's post. Marie raved about the salad. Well, I am, too.

This salad was a perfect lunch on the boat. But, next time, I taking a bottle of wine to go with it.

This recipe made a lot, so we decided to have it the next day with dinner. To freshen it up a little, I made half the vinaigrette recipe and tossed it with the leftover salad and we had it with more grilled shrimp! It was just as fresh tasting Sunday as it was Saturday.


This salad will become a summer staple at our house.

Greek Orzo Salad with Shrimp
Adapted from Stacey Snacks


1 box of orzo (cooked per package directions)
1 lb. cooked shrimp (Stacey grills hers; I used a grilling pan)
1/2 red onion, diced
handful of green onions, chopped
handful of kalamata pitted olives, chopped
1 cup of cherry tomatoes, quartered
handful of fresh dill, chopped
handful of fresh parsley, chopped
1 hot house cucumber, sliced
7 oz. container of chopped feta cheese

Vinaigrette Dressing:

juice of 2 lemons
1/4 cup of red wine vinegar
1/2 cup of good olive oil
kosher salt and pepper to taste

Cook and drain the orzo pasta. While it is still warm, mix with a little of the vinaigrette. Set the pasta aside to cool while you prepare the other ingredients.

I had a little over a pound of shrimp, 16-20 count. I cleaned them, sprinkled them with Cavender's Greek Seasoning and cooked them in a grilling pan for about 90 seconds on each side. They were pretty big for a salad so I cut them in half.

I mixed the rest of the ingredients with the pasta, adding the feta cheese last, then tossed the salad with the remaining vinaigrette.


Related Posts Plugin for WordPress, Blogger...