I've seen photos in probably a hundred blog posts all over the internet of beautiful bountiful gardens. Hearty green plants and vines burdened with tomatoes, cucumbers, beans, peppers...you name it, everyone is growing it, except me.
My garden is dying a slow death. My tomatoes have blossom end rot, if they blossom at all. My tomatillo plants have grown to over 5 feet tall, but produce little more than shriveled, papery shells. My chives have stopped flowering completely and the spikey foliage lies limp on the ground. It's a sad sight and I blame it on the record heat.
However, my poblano peppers are doing just fine, thank you. I have roasted, cleaned, vacuum sealed and frozen several bags of poblanos for use during the winter. I'll use them to make cream of poblano soup (a recipe created by my son), sauce for huevos rancheros and spice up pork or beef carnitas.
My bell peppers are also producing more than I can use right now, and as they began to ripen I wondered what I was going to do with all of them, besides roasting and freezing them like I did with the poblanos.
As I was perusing the over-abundance of food blog posts in my Google reader, I came across a post that referred to a book, Quick Pickles, Easy Recipes with Big Flavor by Chris Schlesinger, John Willoughby and Dan George.
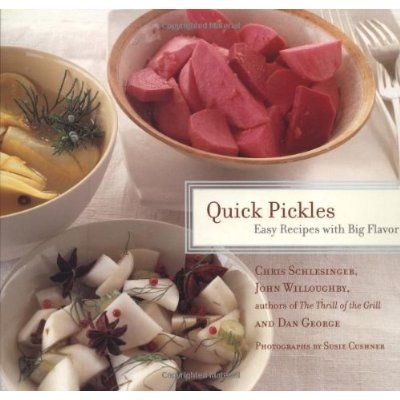
The cookbook caught my interest because the recipes don't require processing. Just the thought of processing several quart canning jars of assorted vegetables in a large pot of boiling water during this horrible heat wave gave me heat stroke.
Anyway, I ordered the book, used, from Amazon.com for a mere $6.00 plus shipping and it has been worth every penny. I've been on a pickle making kick ever since receiving it.
The day the book came in the mail, I chose a recipe, made a grocery list, purchased the ingredients I was lacking and started the next morning making Famous Back Eddy House Pickles. Now, I don't know anything about Back Eddy or why it might be famous, but I can tell you that I love these pickles.
When I was ready to make the pickles, I pulled the bag of zucchini and carrots out of the refrigerator, the onions from the basket in the pantry and picked two bell peppers out of my garden. Then I looked at the recipe to start gathering the spices and....oh, no!....the recipe didn't call for zucchini! I was supposed to use pickling cucumbers! How did I miss that? What was I thinking??!!
Well, I decided to use the zucchini anyway and they turned out great!
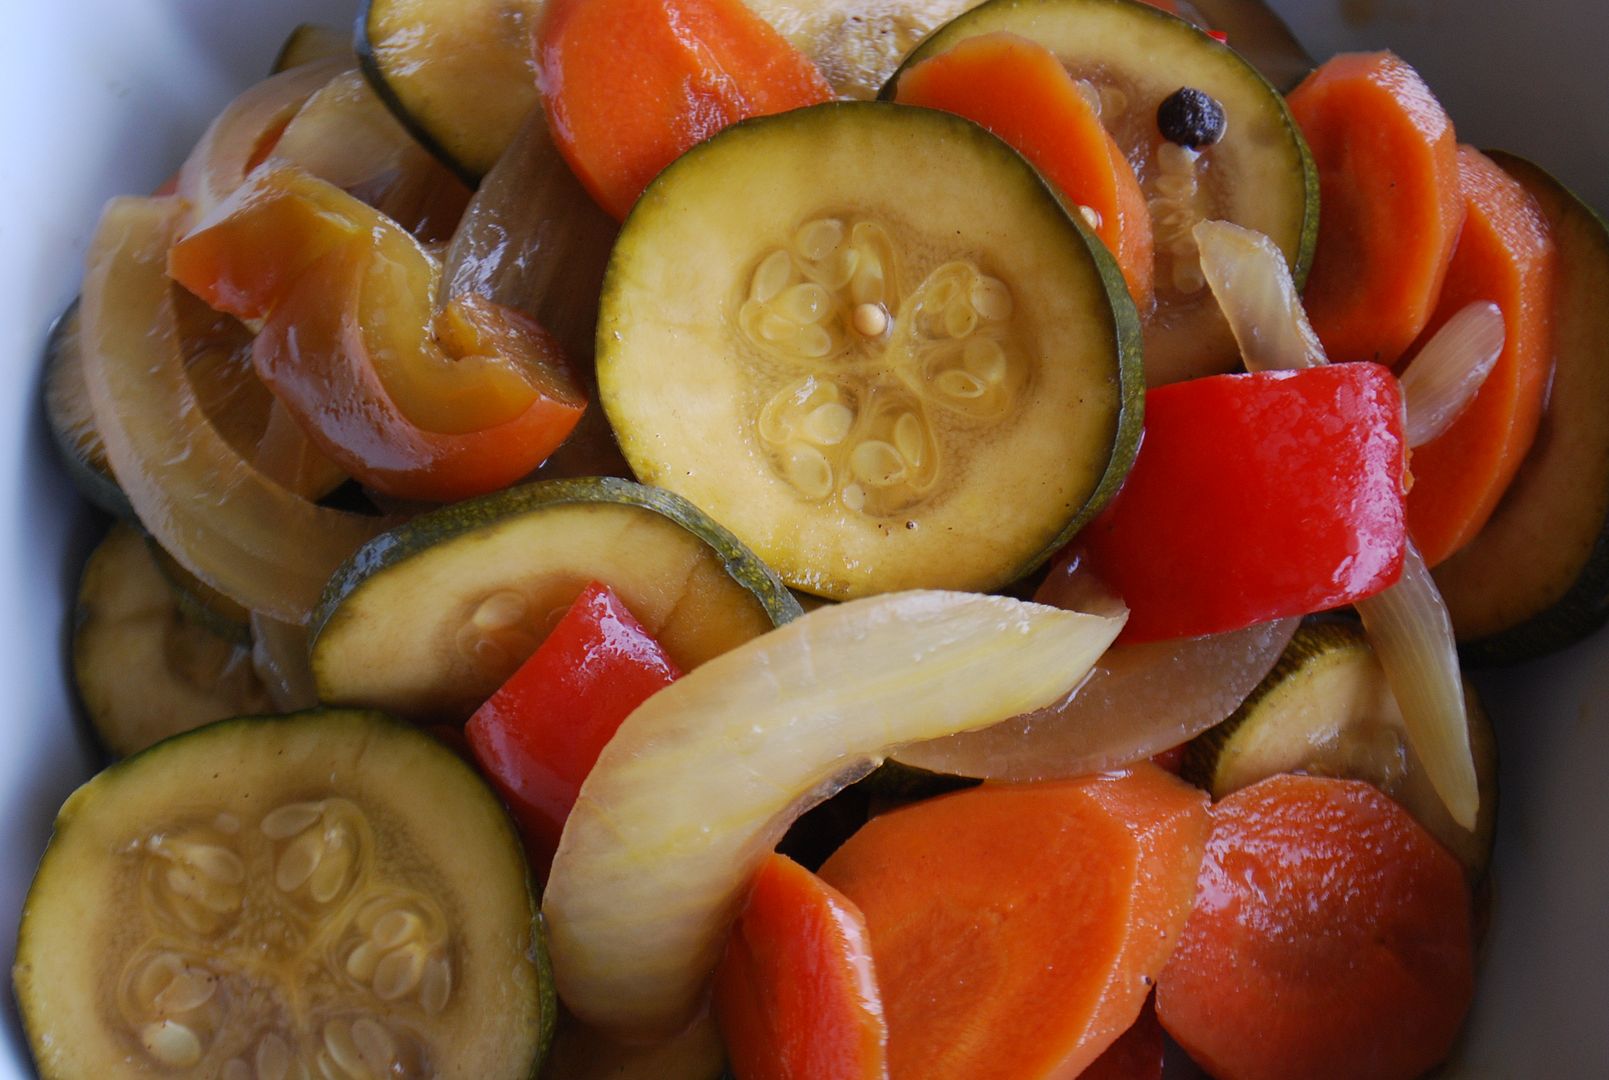
Famous Back Eddy House Pickles
Adapted from the book, Quick Pickles
- 2 lbs. pickling cucumbers or small, firm zucchini
- 3 tablespoons kosher salt
- 3 tablespoons vegetable oil
- 5 cloves of garlic
- 1 lb. carrots, peeled and cut diagonally into 1/4-inch slices
- 1 red bell pepper, seeds removed and cut into 1/2-inch pieces
- 1 green bell pepper, seeds removed and cut into 1/2-inch pieces
- 2 medium onions, peeled and cut into thin slices
- 4 cups cider vinegar
- 2-1/4 cups brown sugar
- 1 teaspoon whole fennel seed
- 1 teaspoon ground cloves
- 2 bay leaves
- 1 tablespoon yellow mustard seed
- 2 tablespoons prepared Dijon mustard
- 2 teaspoons whole allspice berries, cracked
- 2 teaspoons coriander seed, toasted and cracked
Drain the sliced cucumbers or zucchini, rinse well, then drain again. Set aside.
To peel the garlic cloves, put the clove on a cutting board, place the flat side of a large knife on the garlic clove and with your free hand give the side of the knife a good smack. This should almost flatten the garlic clove and separate the skin from the clove. Peel off the skin, cut the root tip off of the clove. Do this with all 5 garlic cloves and set aside.
Heat a medium sauté pan over medium heat and toast the coriander seed, shaking the pan frequently to avoid burning the seeds, until the seeds just release the first tiny wisp of smoke, about 2 - 3 minutes. Remove the seeds to a small bowl and allow to cool to room temperature. When cool, put the coriander and allspice berries into a wooden or metal bowl and press them with the back of a large spoon, or use a mortar and pestle to gently crack them open. Set aside.
In the same sauté pan, heat the oil over medium heat, then add the garlic, carrots, bell peppers and onions and cook, stirring frequently, until the carrots are softened just a bit, about 6 to 7 minutes.
Remove the vegetables from the heat and immediately combine with the cucumbers or zucchini.
In a nonreactive pan (do not use cast iron or anodized aluminum as they will react with the acid), combine vinegar, brown sugar, Dijon mustard and all of the spices. Bring the mixture to a boil over medium-high heat, stirring to dissolve the sugar, and continue to boil for about 5 minutes. Pour the boiling syrup over the vegetables, allow to cool to room temperature, then cover and refrigerate.
Makes about 12 cups. These will keep, covered and refrigerated, for about one month.
* * * * * * *
My next pickling adventure was a purely desperate choice...what to do with all of my bell peppers. I chose Oil-Pickled Grilled Bell Peppers with Garlic and Herbs.
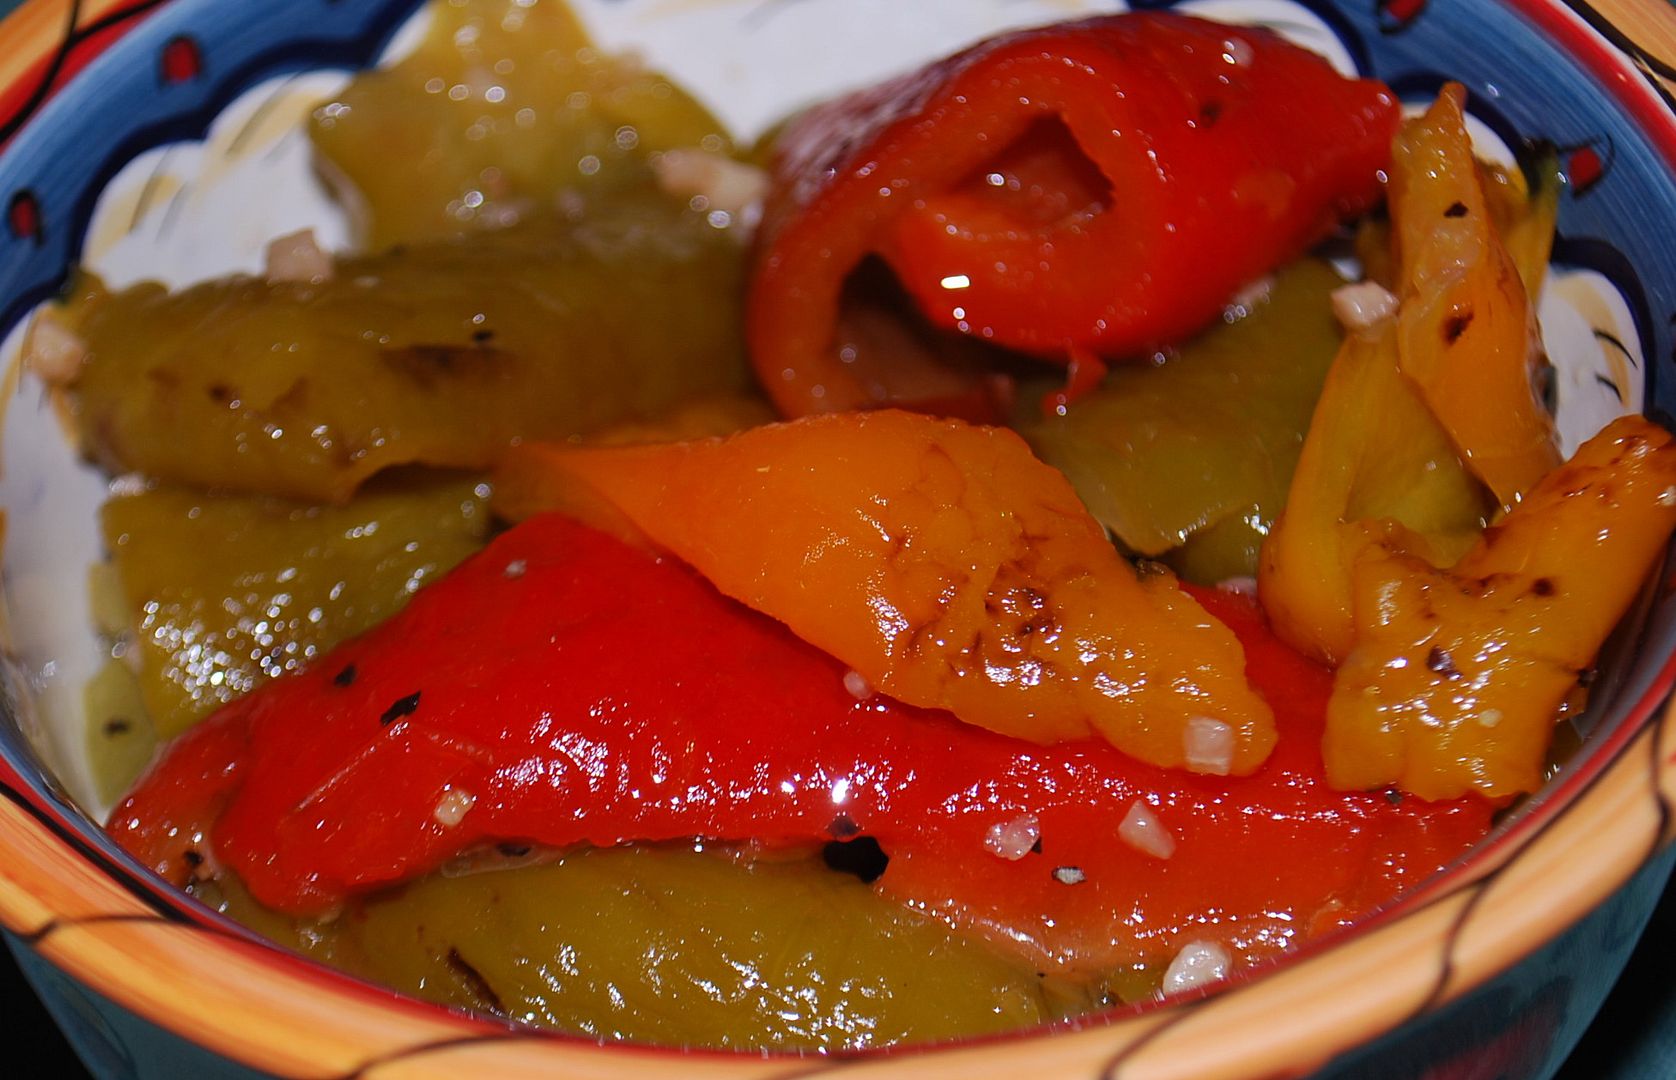
Oil-Pickled Grilled Bell Peppers with Garlic and Herbs
Adapted from the book Quick Pickles
- 4 bell peppers, any combination of red, yellow, purple, orange or green
- 2 tablespoons red wine vinegar
- 2 tablespoons minced garlic
- 1/4 cup fresh herbs (use only one or a combination of rosemary, thyme, marjoram, oregano, mint or sage) or 1 teaspoon of a dry herb (I used a little thyme and oregano)
- 1/4 teaspoon crushed red pepper
- kosher salt and fresh cracked pepper
- 1/4 cup extra-virgin olive oil
Grill the bell peppers over medium-hot coals or gas grill set for medium heat. Roast, turning occasionally being careful not to pierce the flesh, until they are soft and the skins begin to char and blister, about 20 to 30 minutes. Remove from the grill to a large plastic bag, seal and allow to set until you are able to handle with bare hands. This will also make the skin easier to remove from the flesh.
Over a medium sized glass bowl, slit the bottom of each pepper being careful not to dislodge the seeds inside and drain the juices from the cavity into the bowl. Peel the skin from each pepper (I've found that gently scraping the skin with the side of a teaspoon work very well), then open, remove the stems and seed them. Cut the peppers into strips or pieces and place them in the bowl with their juices.
Add all of the remaining ingredients, except the oil, and mix gently and allow to stand for 1/2 hour.
Add the oil and mix gently to combine and serve at room temperature. Cover and refrigerate for up to a month. To serve, remove from the refrigerator about an hour before serving to allow the peppers and oil to come to room temperature.
Makes about 2 cups.
* * * * * * *
I wanted to make this next pickle simply because I loved the photo, Pickled Turnips with Fennel and Star Anise.
I couldn't find star anise at my local Kroger or Walmart, so I ordered it, along with a few other things, from Spice Barn.
The original recipe also uses pink peppercorns, which I again didn't have on hand and forgot to order, so I just used a peppercorn melange (a combination of black, red, green and white peppercorns).
These have distinct but delicious anise flavor, which I love.
So, this is how they turned out...
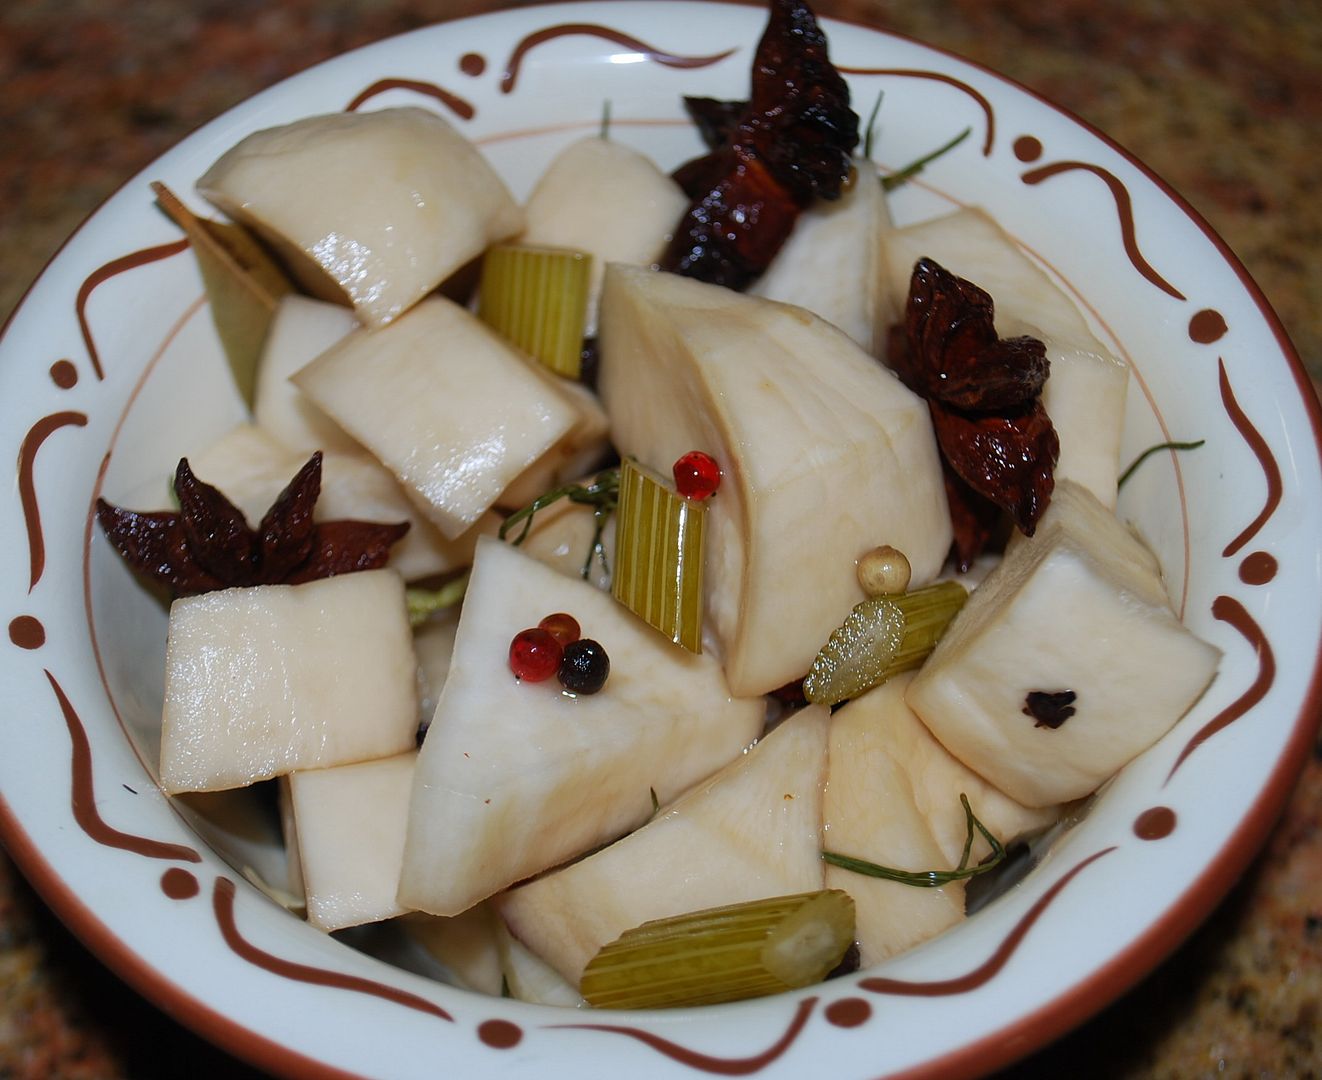
Pickled Turnips with Fennel and Star Anise
Adapted from the book Quick Pickles
- 2 lbs. turnips peeled
- 1 fennel bulb with fronds
- 1/2 peppercorn melange
- 1 tablespoon kosher salt
- 1 tablespoon whole allspice berries
- 1 teaspoon whole cloves
- 1 tablespoon anise seed
- 3 bay leaves
- 1/2 cup whole star anise
- 1 cup white sugar
- 3 cups white balsamic vinegar
- 1-1/2 cups white grape juice
Tear a large handful of the feathery green fronds from the stalks and set aside. Cut the fennel stalks from the bulb and slice them into disks about 1/4-inch thick. Cut the fennel bulb into 8 or more wedges (depending on its size). Cut the root base from each wedge and separate into pieces.
In a glass bowl or jar, combine the peppercorns, turnips and all of the fennel pieces, except the fronds.
In a nonreactive saucepan (do not use cast iron or anodized aluminum as it will react to the acid), combine the remaining ingredients except the fronds and bring to a boil over medium-high heat. Reduce the heat to low and simmer, stirring occasionally, for about 3 minutes, until the sugar is melted and the syrup has been flavored by the spices.
Pour the hot liquid over the vegetables and allow them to cool to room temperature. Add the reserved fennel fronds, stir to incorporate, then cover and refrigerate.
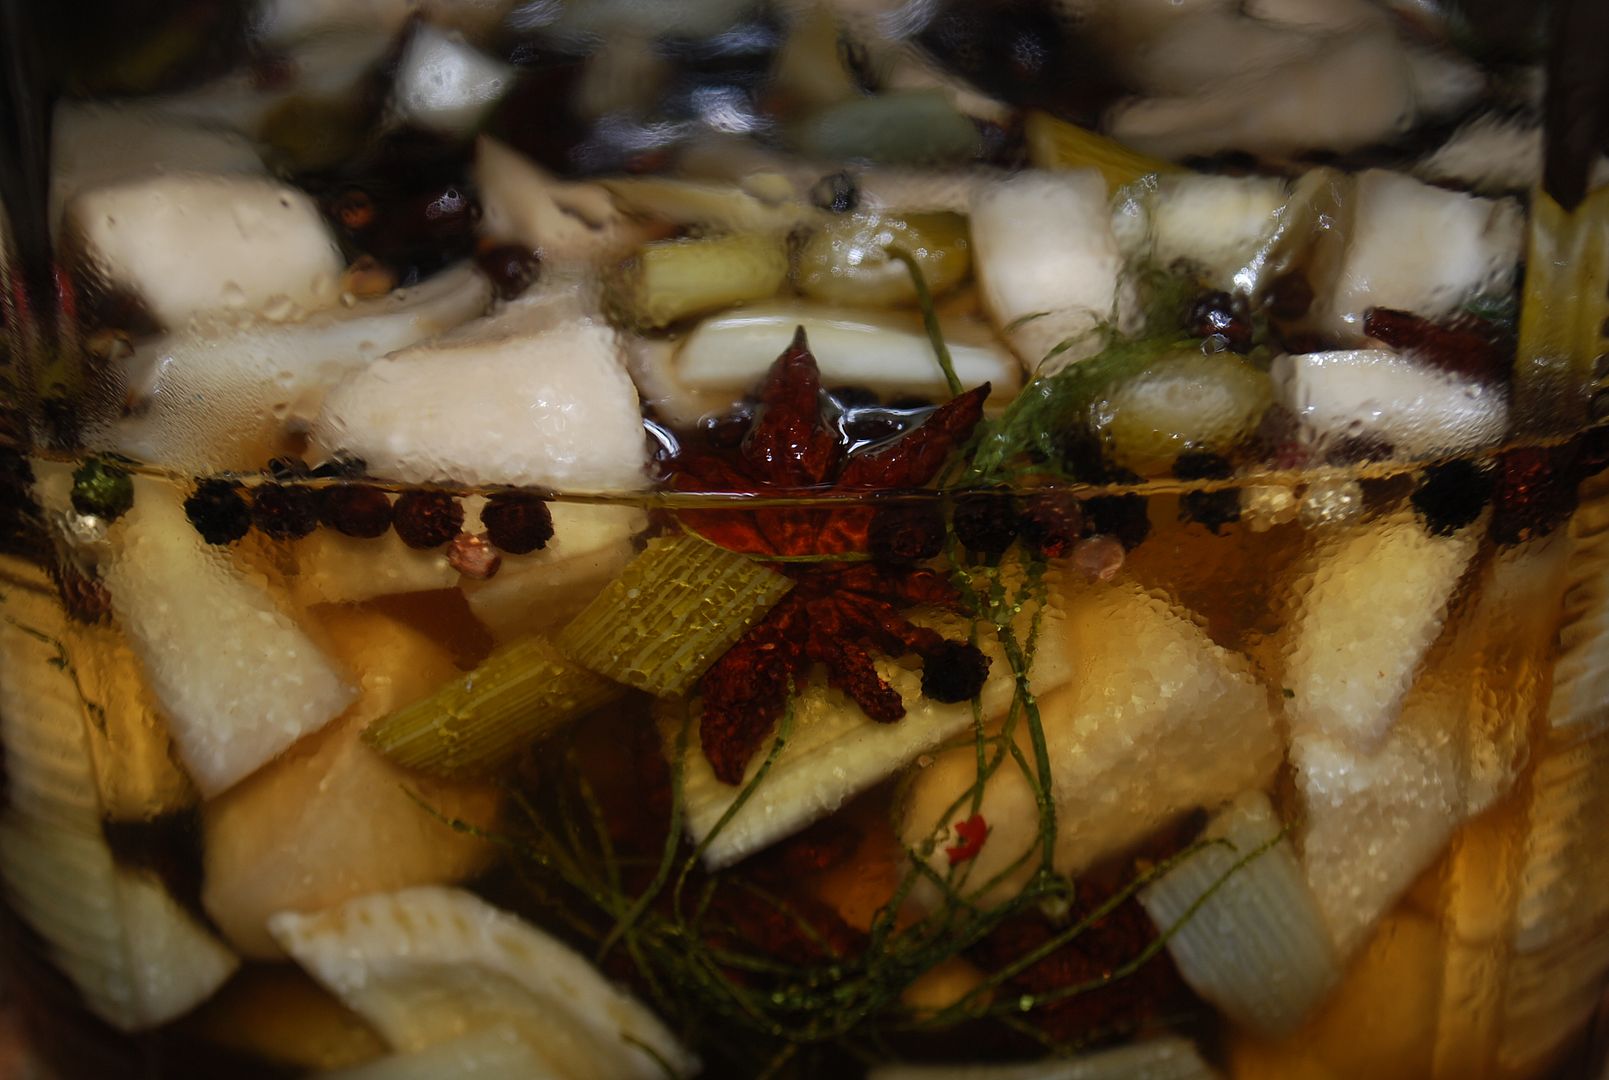
Cover and chill for several hours before serving. These pickles will keep well, covered and refrigerated for at least 6 weeks.
* * * * * * *
Finally, this last pickle is NOT from the Quick Pickle book.
If you've read my blog for any time at all, you know that I love AUTHENTIC Mexican food. It's still probably one of the things I miss the most since moving here from California almost 20 years ago. So several months ago I purchased Authentic Mexican, Regional Cooking from the Heart of Mexico, by Rick Bayless.

I haven't made very many of the recipes yet, but when I started my pickle rampage, I tried Escabeche de Cebolla (Pickled Red Onions). These are quick, very easy to make and delicious. We've eaten them with everything from fish tacos to fajitas to carnitas, even on sandwiches.
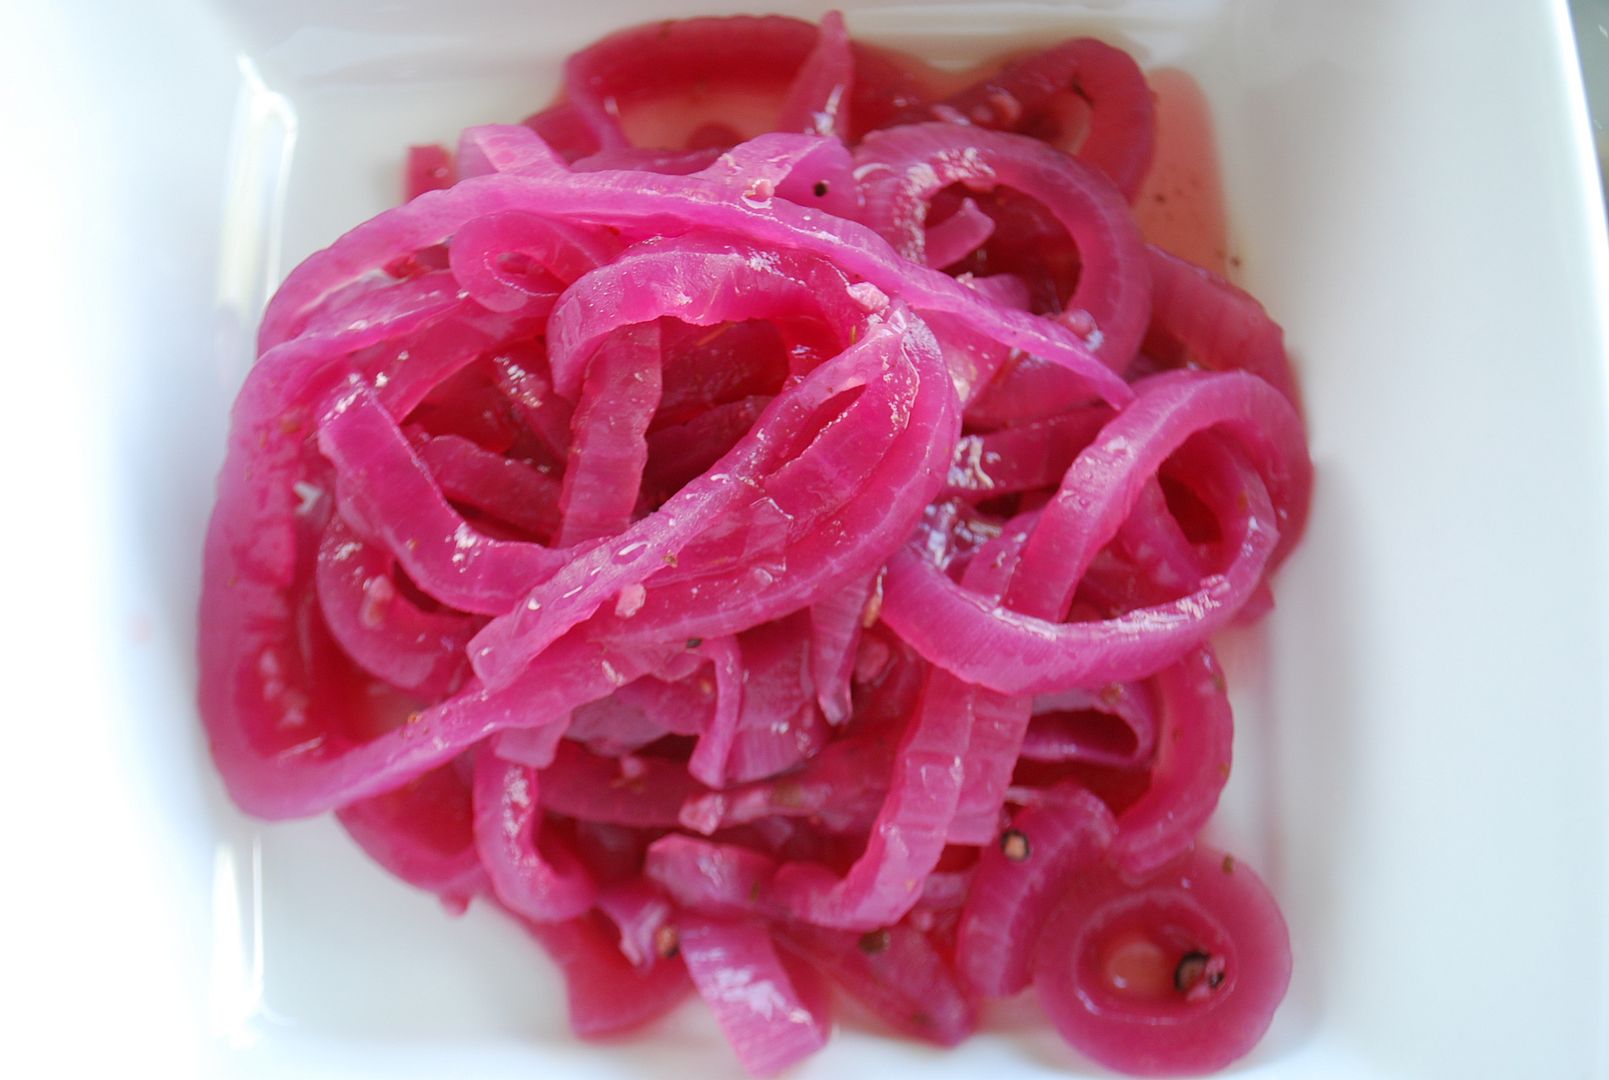
Pickled Red Onion (Escabeche de Cebolla)
Adapted from Authentic Mexican
- 1 red onion, cut in 1/8-inch slices
- 1/4 teaspoon black peppercorns
- 1/4 teaspoon whole cumin seeds
- 1/2 teaspoon dried oregano
- 2 cloves garlic, peeled and halved
- 1/4 teaspoon salt
- 1/3 cup cider vinegar
To pickle the onion, first coarsely grind the peppercorns and cumin seeds with a mortar and pestle and add to the saucepan, along with remaining ingredients, including the onions. Add just enough water to just cover the onions, bring to a boil and set the timer for 3 minutes. At the end of 3 minutes, remove from the heat and pour into a small glass bowl or jar.
Makes about 1-1/3 cups. Cover and refrigerate for several hours before eating. Covered and refrigerated, these pickled onions will last for weeks.




4 comments:
Wow! You've been busy!! Everything looks great, but I'm just really loving those bell peppers!
Hi Karen! The peppers turned out amazing and they keep for up to a month. Give them a try. You will love them.
You've got quite a collection here! I'm a bit puckered up reading about all of it :) Sorry to hear about the record heat and the effect on your garden. We're struggling with not enough sun and although I'm getting some small tomatoes, many have problems and the leaves are covered with white mold. Interesting combo of turnips and anise...Sounds like a great book to experiment with. And Rick Bayless is a must. His recipes are amazing.
Hi,
You've got quite a collection here!
Everything looks great, but I'm just really loving those bell peppers!
Thanks for posting this.
James Parker….
Chef Gulzar
Post a Comment