I know I haven't posted a thing since making the sourdough starter and the sourdough bread, but I have been swamped with other stuff.
This morning, I am leaving for Las Vegas to pick up my sister and bring her back here to live with us for a while. We will be back home on Sunday.
However, I have been cooking and made the most delicious Mushroom Soup that I will share with you when I return.
Please keep me in your thoughts as we make this long 6-day trip.

Tuesday, October 28, 2008
Just Another Short Break

Thursday, October 16, 2008
Sourdough Starter, First Batch... and It's On To The Bread Making !!
Day 5 - Now it is finally starting to bubble and not separate much. I stirred it one more time and set it back on the counter. Tomorrow will be bread baking day!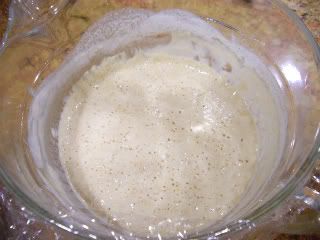
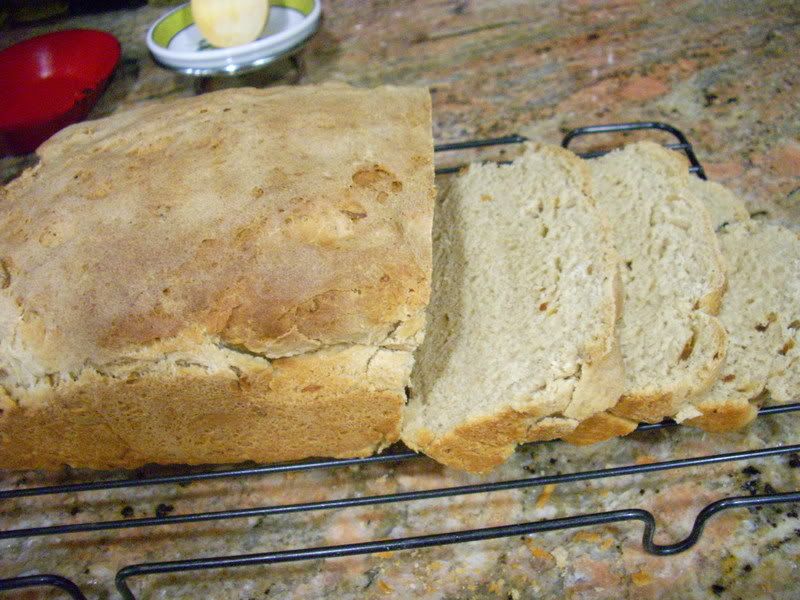
Day 6 - We will have homemade Onion Sourdough Bread with dinner! The starter has doubled in size and there are little bubbles all over the surface. It's time to make the bread.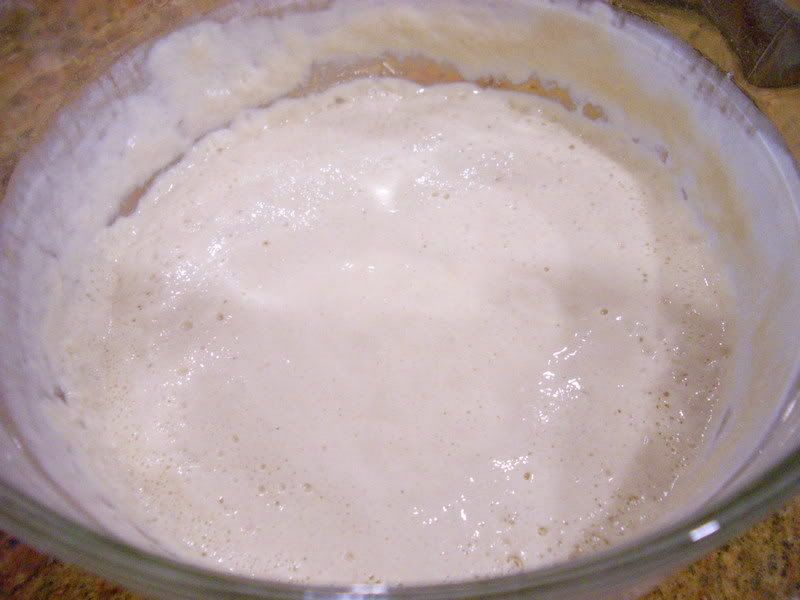
by Terri Powers for Terri's Table
2 cups sourdough starter
2 tablespoons sugar
1 teaspoon salt
3 tablespoons butter, melted and cooled
1 envelope onion soup mix
3 cups (approximately) all purpose flour
Mix sourdough starter, sugar, salt and butter together in a large bowl. Add flour to this mixture about a 1/2 a cup at a time until a soft dough consistency is reached.
Remove dough from the bowl to a well floured surface. Knead the dough until it is smooth, about 8 to 10 minutes.
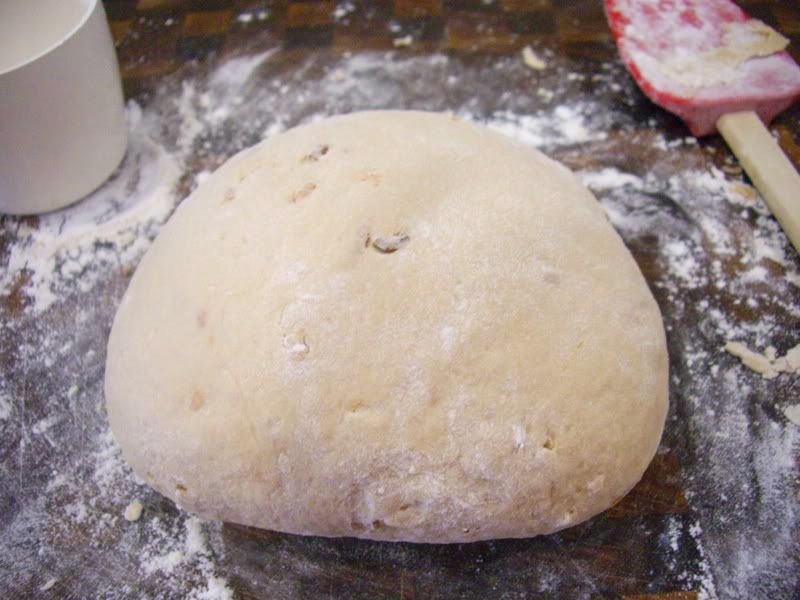
Place the round ball of dough in a larger greased bowl, cover with plastic wrap, then a dishtowel. Set the bowl in a warm place and let the dough rise until it has doubled in size, about 1-1/2 hours.
When the dough has doubled in size, punch it down and let it rest 15 minutes.
Shape the dough into a loaf and place in a greased 9-inch x 5-inch loaf pan.
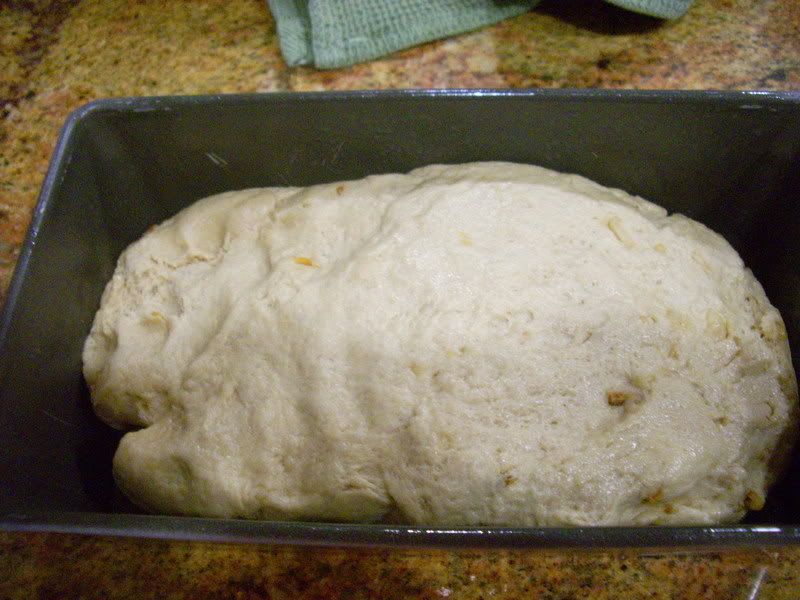
Cover and let rise again until doubled in size, about 1 hour.
Preheat the oven to 375ºF. Bake bread about 50 minutes, until a nice golden brown crust forms.
Enjoy warm, homemade bread for dinner. Mmmmmmm.
Thursday, October 9, 2008
Sourdough Starter, First Batch, Day 4
I'm a little concerned. It is the 4th day and it seems not much is happening. There aren't any bubbles that would indicate any activity and there is a "hooch" that has risen to the top. You can see that it isn't a terrible color, just a slight amber. The good news is that the mixture actually smells good. It has that yeasty fragrance.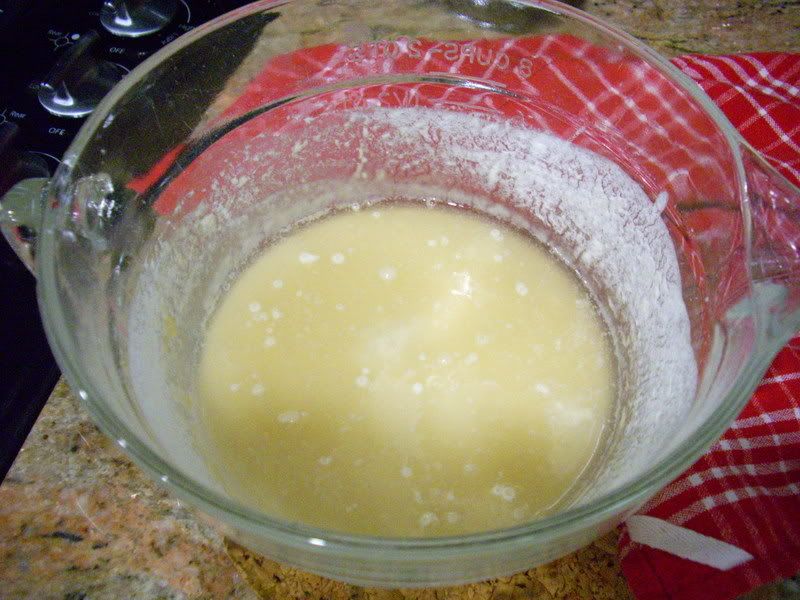
I'm thinking there are a couple of things I need to do to help it along.
First, I had to put something underneath the glass container to keep it from resting on the granite counter, so I put a cork mat underneath the container. The granite always feels cool to the touch and I think the direct contact with the granite lowers the temperature of the starter below where it needs to be.
Second, I think the mixture needs to be "fed," so I stirred the separated starter to combine it, then added 1/2 cup of flour and stirred to mix it well.
So back on the counter, on the cork mat, it goes, lightly covered with plastic wrap.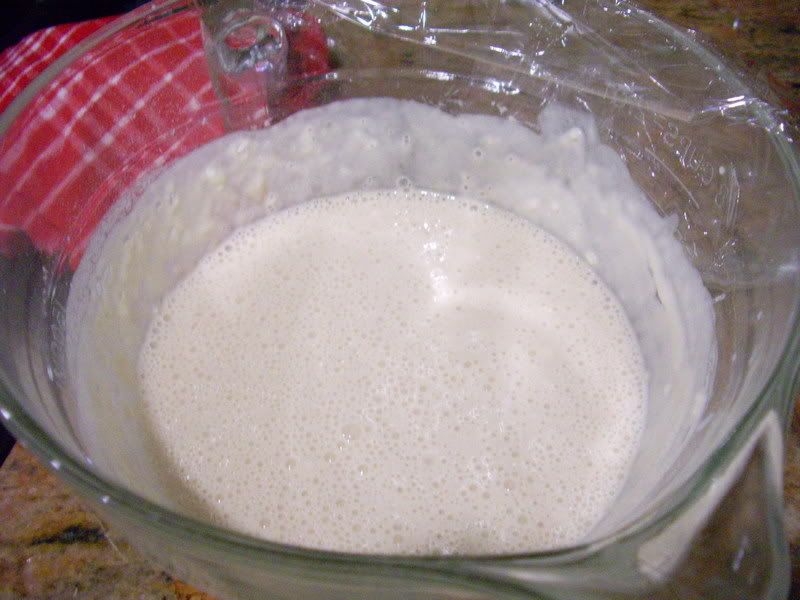
There's still hope...
Wednesday, October 8, 2008
Sourdough Bread Two Ways
The title makes it sound like something off of a Chinese menu, but it's not.
Thanks to The Friday Friends post, I am once again inspired to make something I haven't made in years, probably over 30 years to be exact. I am going to make my own sourdough starter, but I am going to use two different methods just to see if the end products - the sourdough bread - turn out any different.
There are apparently two (or actually three) different methods of making sourdough starter. Debbie at The Friday Friends is using the Flour-and-
Water-Only method. My recipe calls for the Flour-Water-Sugar-and-Yeast method. When I did some checking on the internet I also found some folks using the Flour-and-Milk-Only method. For my purposes, I am going to use my method and Debbie's method, since they seem to be the most common.
To make an equal comparison of the finished product, I will use both starters to make my mom's old, old recipe for Sourdough Onion Bread.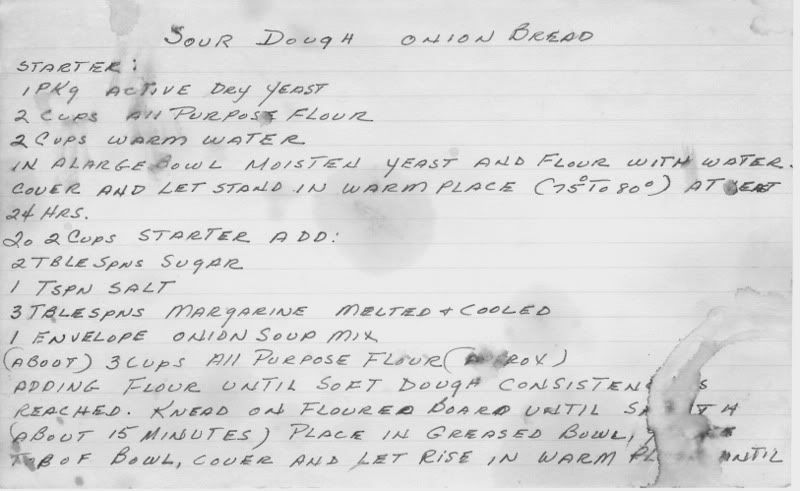
This first time, I am using my recipe for sourdough starter:
2 cups all-purpose flour
1 teaspoon granulated sugar
1 packet (or 2¼ teaspoons) active-dry yeast
2 cups warm water, about 110º F.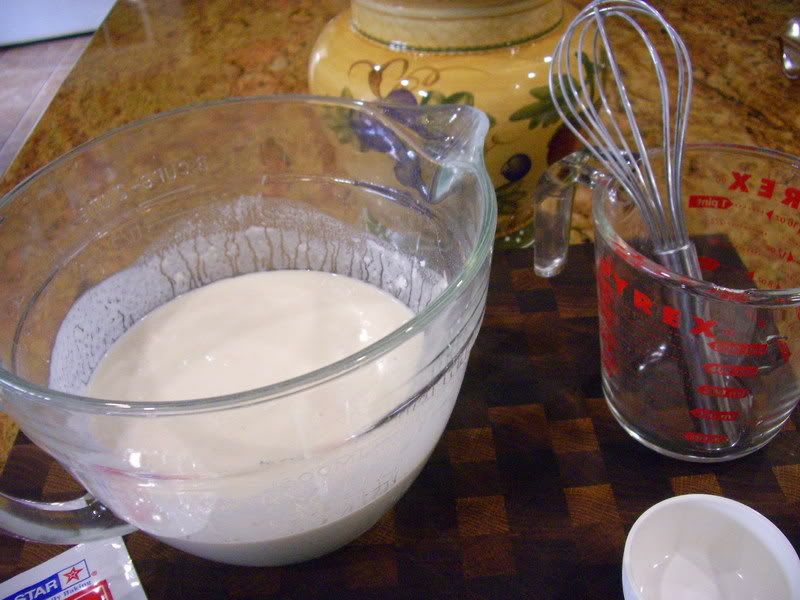
Mix the flour, sugar and yeast together first in a sterile class container big enough to hold 2 quarts. Gradually stir in the water and mix it to a thick paste. Cover your container with a dishcloth or cheesecloth and set it in a consistently warm (75º to 80º) place. Let it sit 2 to 5 days, stirring once a day. When it's ready it will develop a pleasant sour smell and look bubbly. Once it reaches this stage, stir it, cover it loosely and store it in the refrigerator until ready to use.
So, this is what is looked like Day One... ready to be covered.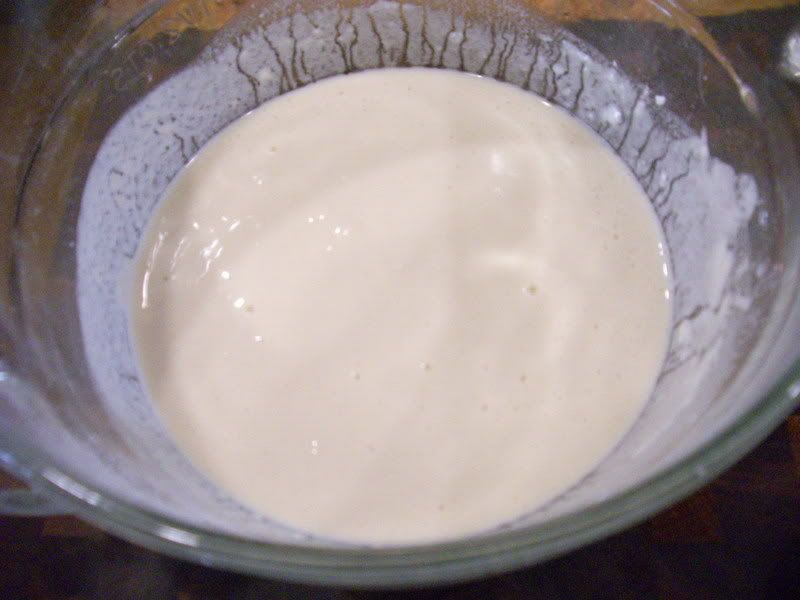
I didn't take a photo the morning of Day Two, but it had separated and sort of looked liked curds and whey and I stirred it to combine the two and covered it again. It smelled mildly of yeast, but not sour.
This is what is looked like this morning.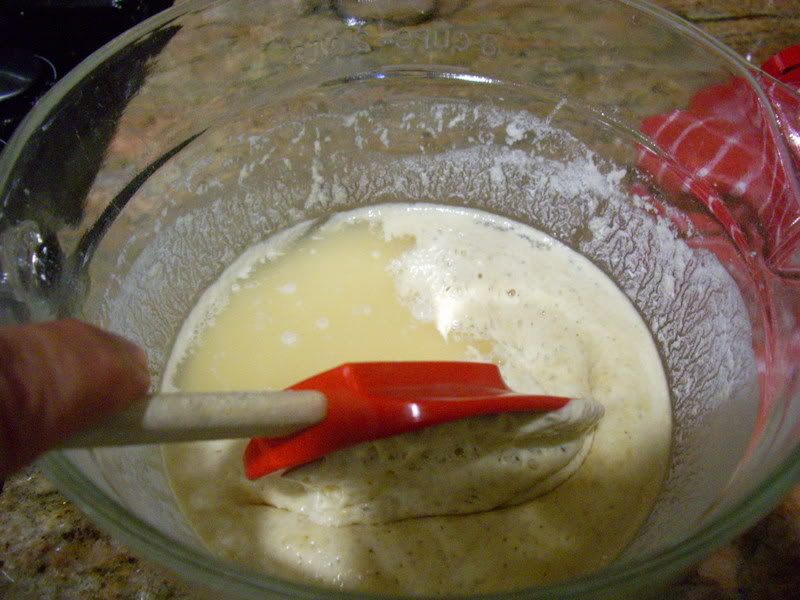
It seemed pretty bubbly on top, but again, it was separated and I mixed it up gently. This morning it smelled a little like beer.
Back on the counter it goes until tomorrow.
Thursday, October 2, 2008
What To Do With Leftover Ham?

When I was growing up, my mother rarely served ham, but when she did, it was usually one of those canned, boneless, jellied things. She'd doctor it up with a little brown sugar, stick some whole cloves in it and bake it in the oven. It was never my favorite meal, but I ate it because I was hungry. What else can you do?
I can only remember once or twice during my childhood that my mom served a "real" bone-in smoked ham. To stay within her budget, she bought the cheapest one available. All I can remember is salty, salty, salty.
It has only been the last 15 years or so that we have occasionally enjoyed a meal of ham and creamy scalloped potatoes, but the reason I don't fix it very often is because we have so much leftover. I wind up cutting the ham into pieces or slices, bagging it and freezing for later to make split pea soup, red beans and rice, or ham and potato soup. Not very creative.
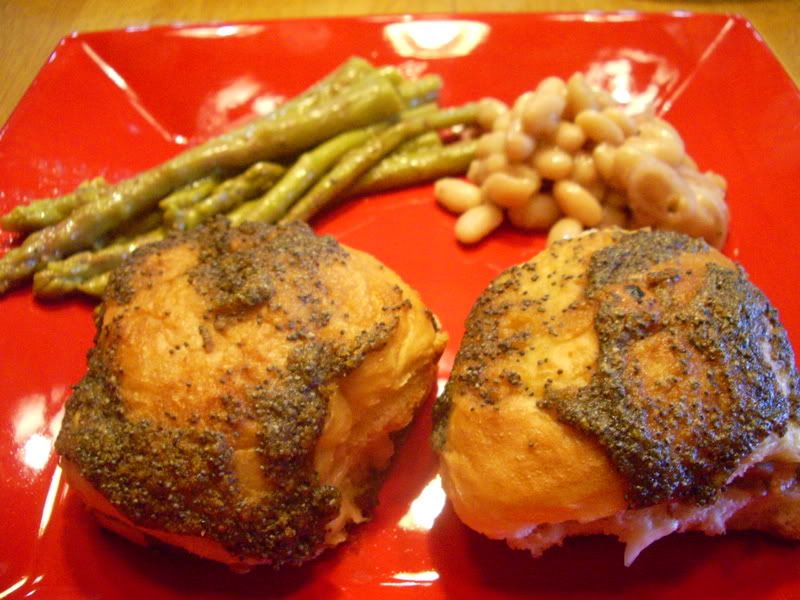
This last time, I wanted something different, so I Googled and found these babies. They are supposed to be appetizers, but I served them as the main course of a meal with a little marinated white bean salad and some asparagus spears.
This is the original recipe which makes 24 mini-sandwiches, but I cut the recipe in half to make only a dozen. However, I inadvertently added the entire 2 tablespoons of poppy seeds instead on 1 tablespoon. They were still delicious. Next time I will make a full recipe and send some to my father-in-law. He will love them!
Adapted from the recipe by Peggy Trowbridge Filippone, About.com
For the Marinade:
1 cup (2 sticks butter)
1/4 cup sweet onion, finely minced
2 tablespoons poppy seeds
1/2 teaspoon garlic powder
1 tablespoon Worcestershire sauce
2 tablespoons hot or spicy mustard (I used horseradish mustard)
1/4 brown sugar
1 tablespoon chopped parsley
For the Sandwiches:
24 (about 2 X 2-inches each) small dinner rolls
Horseradish mayonnaise (I used Kraft Horseradish Sauce)
24 thin slices of deli ham (I used leftover ham, sliced not too thin)
24 thin slices of Swiss cheese
Line two 9 X 13-inch baking sheets with non-stick foil or butter traditional pans (I sprayed my pan with non-stick spray).
To prepare marinade, saute the onion in the butter over low heat until onion is soft and translucent. Add the poppy seeds, garlic powder, Worcestershire sauce, mustard and brown sugar. Stir until brown sugar is melted into the sauce. Remove from heat and stir in parsley. Set the marinade aside.
Slice the buns in half. Spread the bottoms of the buns with a thin layer of horseradish mayonnaise.
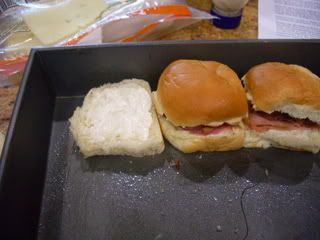
Fold the ham slices to fit the bottom of each bun. (You can see, that I just used pieces of my leftover ham.)
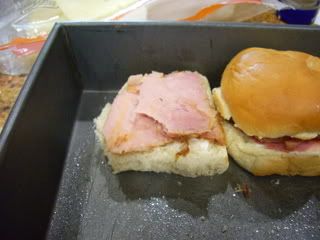
Repeat with the Swiss cheese slices, folding to fit the buns. Replace bun tops and place ham and cheese buns into a the prepared baking pans.

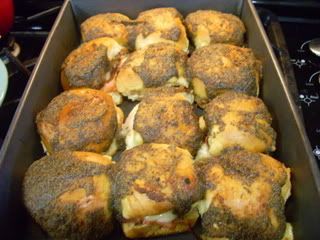
Pour the marinade evenly over both pans of buns.
Cover tightly with foil and refrigerate overnight.
To serve, preheat over to 350 degrees F. Baked the marinated buns, covered, for 25 minutes. Remove the foil and continue baking for an additional 10 minutes.
Mmmm, mmmm, good!
Subscribe to:
Posts (Atom)